Tutorial: Complete a Case End-to-End
This tutorial walks you through handling a complete Data Subject Access Request (DSAR) from receiving the request to sending the final response. Follow along in your own SAR Portal account.
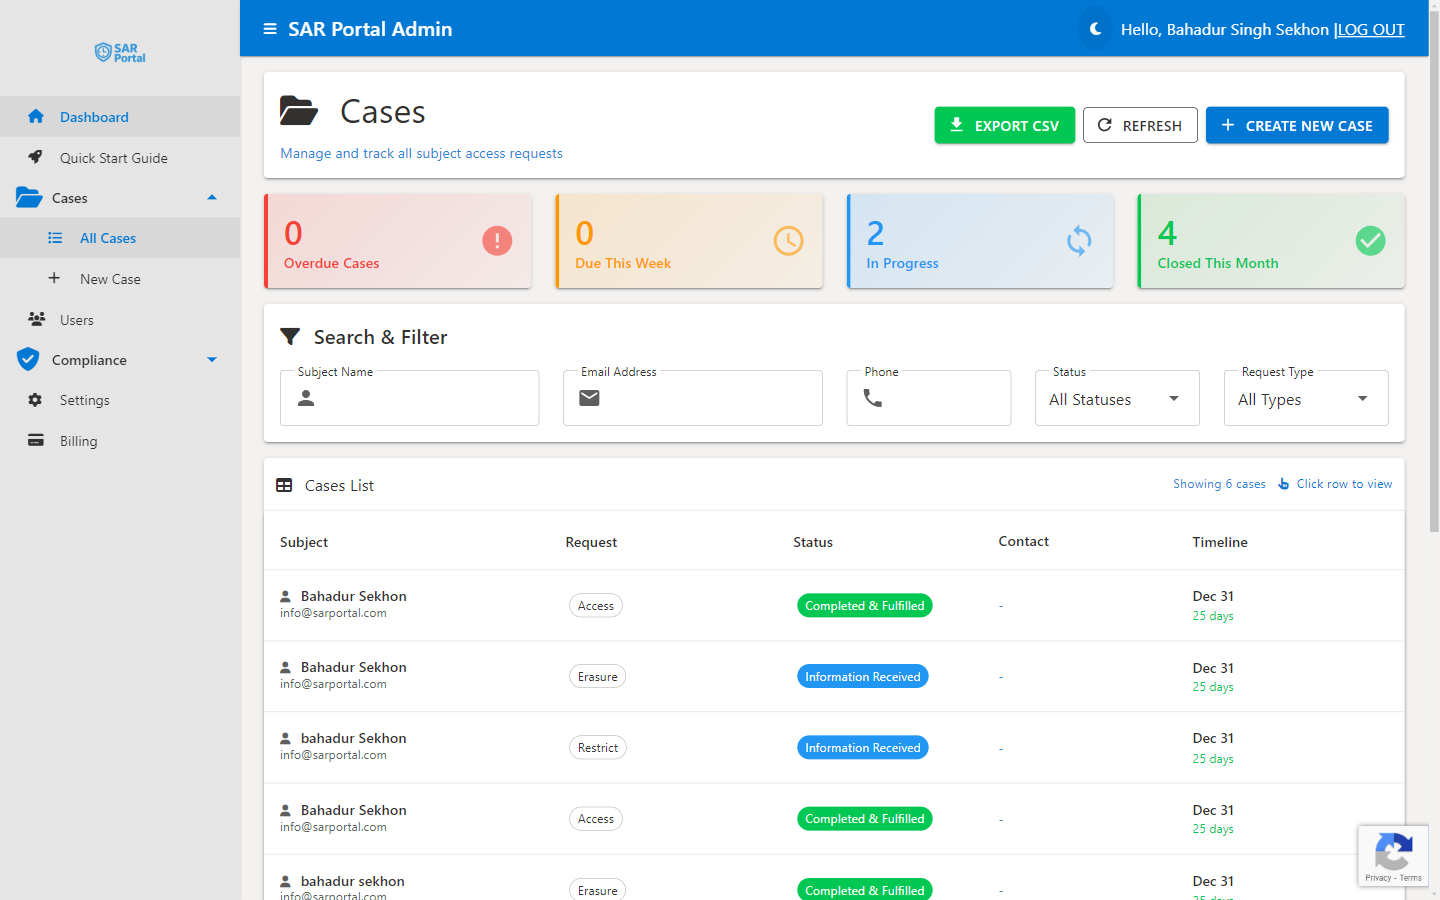
Scenario
The Request: John Smith has submitted an access request through your public portal, asking for a copy of all personal data you hold about him.
Your Task: Gather his data, review it for third-party information, redact where necessary, and respond within one month.
Step 1: Review the New Case (Day 1)
When the request comes in, Admins and Case Managers receive an email notification, and the case appears on the dashboard and in the Cases list.
1.1 Open the Case
john.smith@email.com
Access Request (Art. 15) • Due: one month
1.2 Review Case Details
Check the case summary:
- Request Type: Access Request (Article 15)
- Subject: John Smith
- Email: john.smith@email.com (verified via portal)
- Date Received: Today
- Due Date: one month from today
- Subject Notes: Any details the subject provided
1.3 Start Processing
The case page has no status dropdown. On an Opened case, click Start Processing to move it to In Progress.
Step 2: Gather Data (Days 1-7)
Now collect all personal data you hold about John Smith.
2.1 Search Your Systems
Check all locations where you might have John’s data:
- CRM / Customer database
- Email communications
- Order history
- Support tickets
- Marketing lists
- Any other systems
2.2 Export the Data
Export the records themselves as documents, because everything you attach when you close the case is sent to John:
- Customer profile PDF
- Email history export
- Order records CSV
- Support ticket history
Do not attach screenshots of your internal search screens. Keep the files ready on your computer: you attach them in the Close Case dialog in Step 4.
2.3 Record Where You Searched
In the case’s Document Collation panel, click Add Collation Source for each place you searched. Choose the Storage Type (OneDrive, Google Drive, SharePoint or Other), paste the URL of the folder or export, and pick a Description Template or write your own description, for example:
- CRM data export for data subject
- Email mailbox search results
- Support ticket export
Nothing is uploaded or copied: the case keeps the links for your audit trail. These are for your team, not for John.
2.4 Check What to Do Next (Optional)
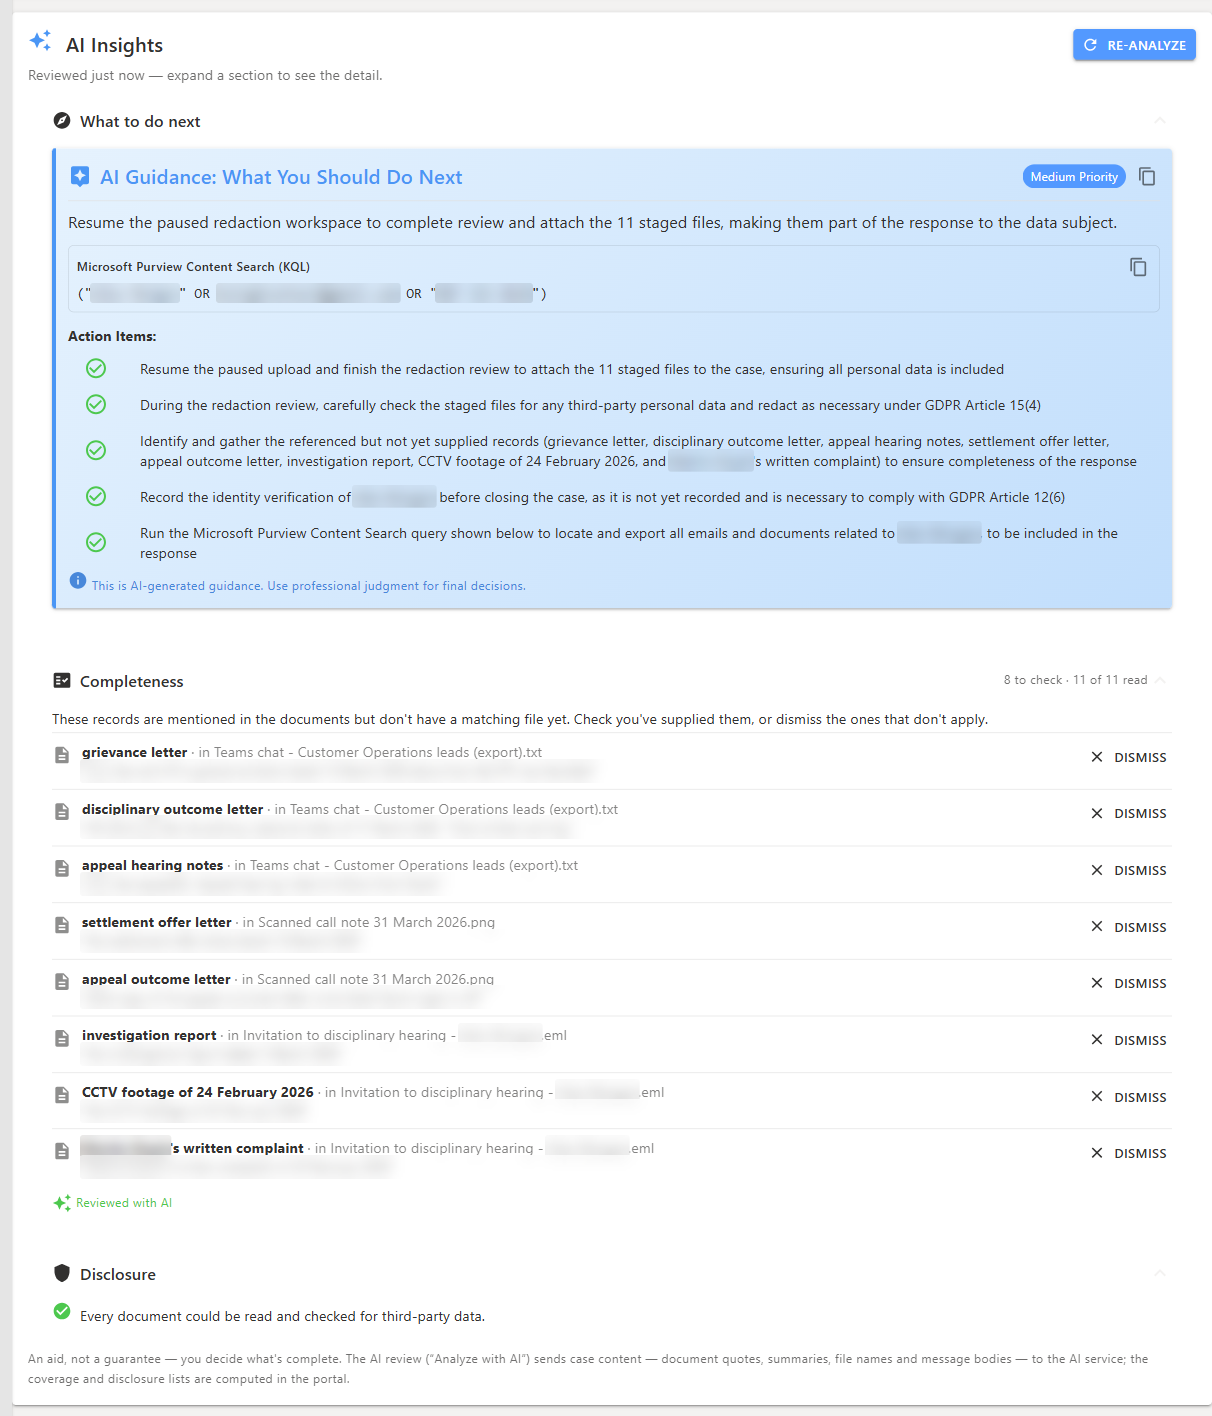
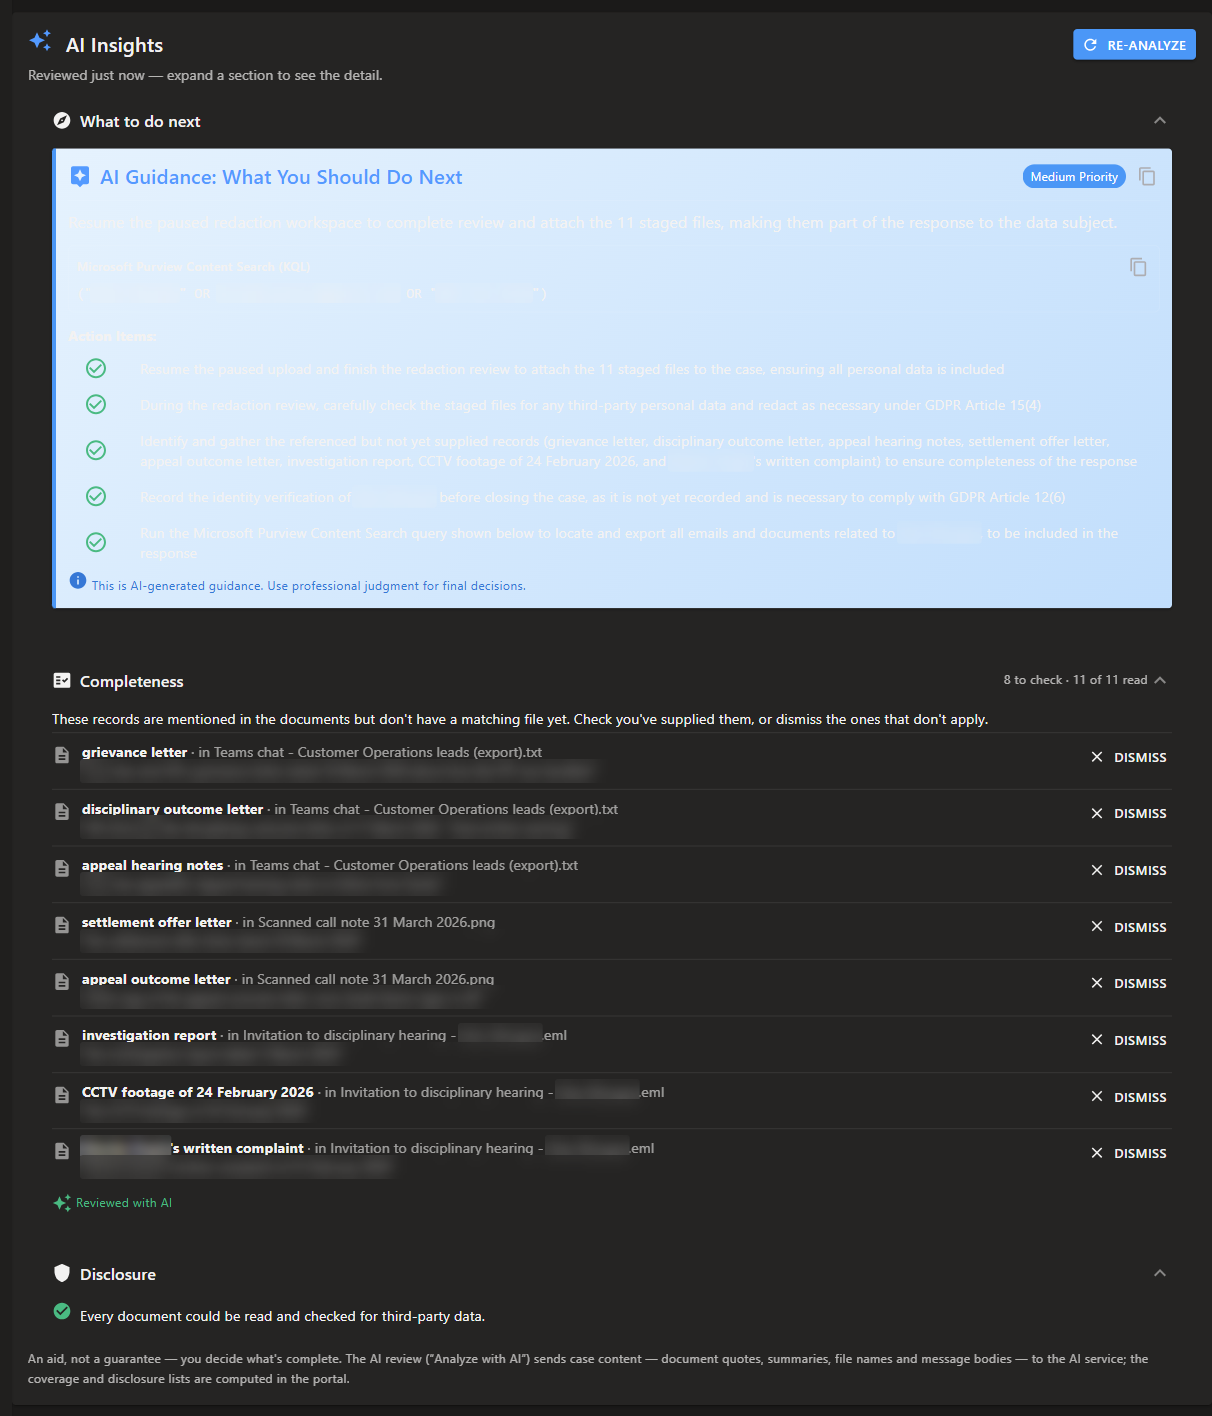
In AI Insights, click Analyze with AI. What to do next suggests the steps left for this request, and Completeness lists records the case refers to that have no matching file, so you can check nothing is missing before you reply.
Step 3: Verify Identity (Days 7-14)
Once you’ve confirmed the subject’s identity, click Mark Verified. It’s a single click — there’s no method picker and no notes field. The case moves to Identity Verified, and the status change is logged with the time and user in the timeline and audit log automatically, which is your GDPR evidence.
John verified his email with a one-time code to submit through the portal, but that is not recorded as the case’s verification method when the case is created (it is recorded only if he signs in to the portal again later). When a user who can change case status (Admin, Case Manager or Reviewer) clicks Mark Verified on a case with no recorded method, the method is recorded as Manual Review. See Identity Verification.
Step 4: Write the Reply and Attach the Response (Days 14-21)
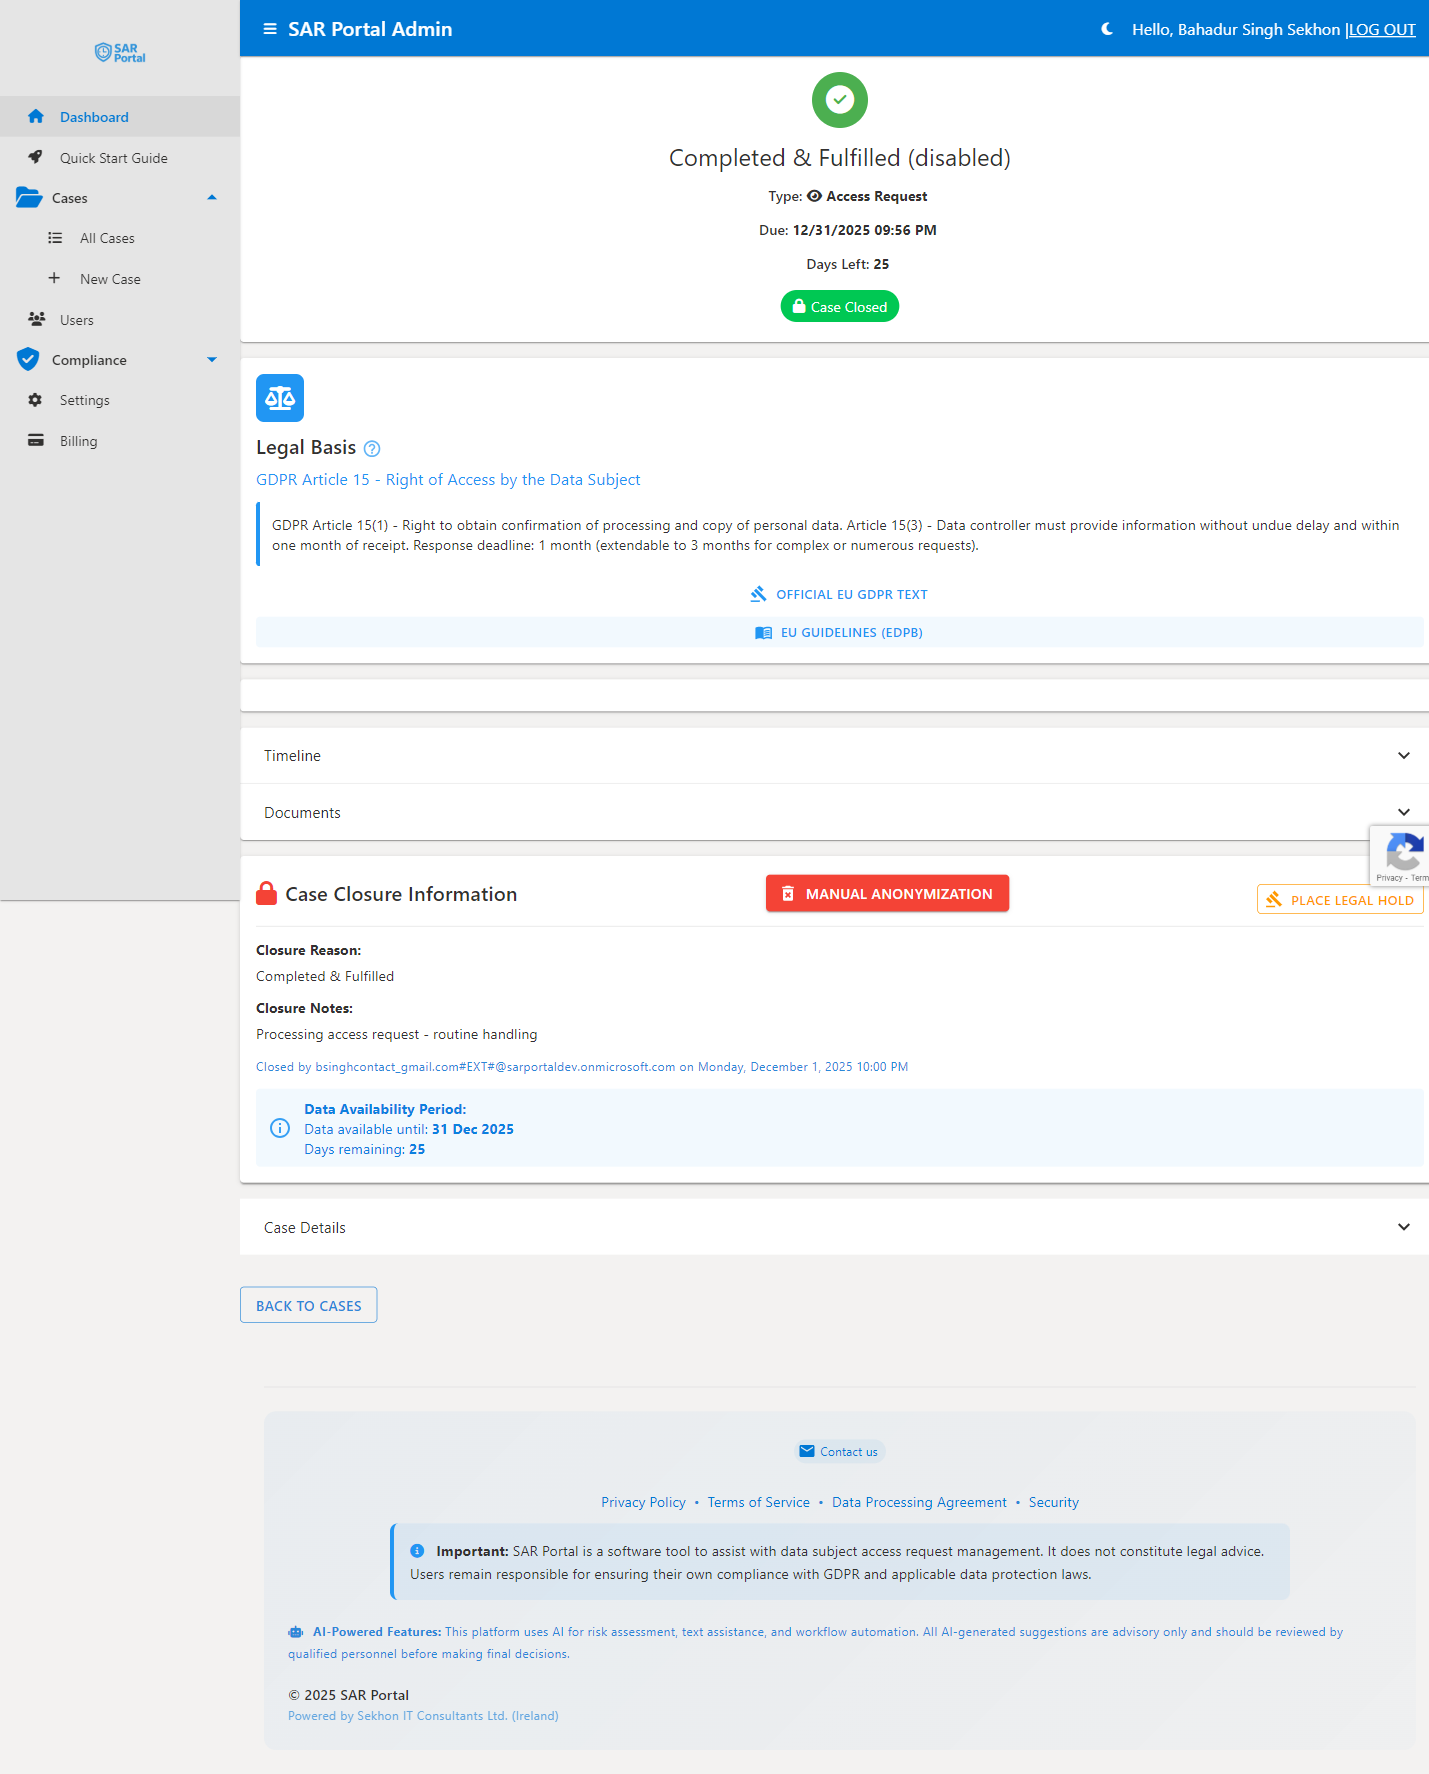
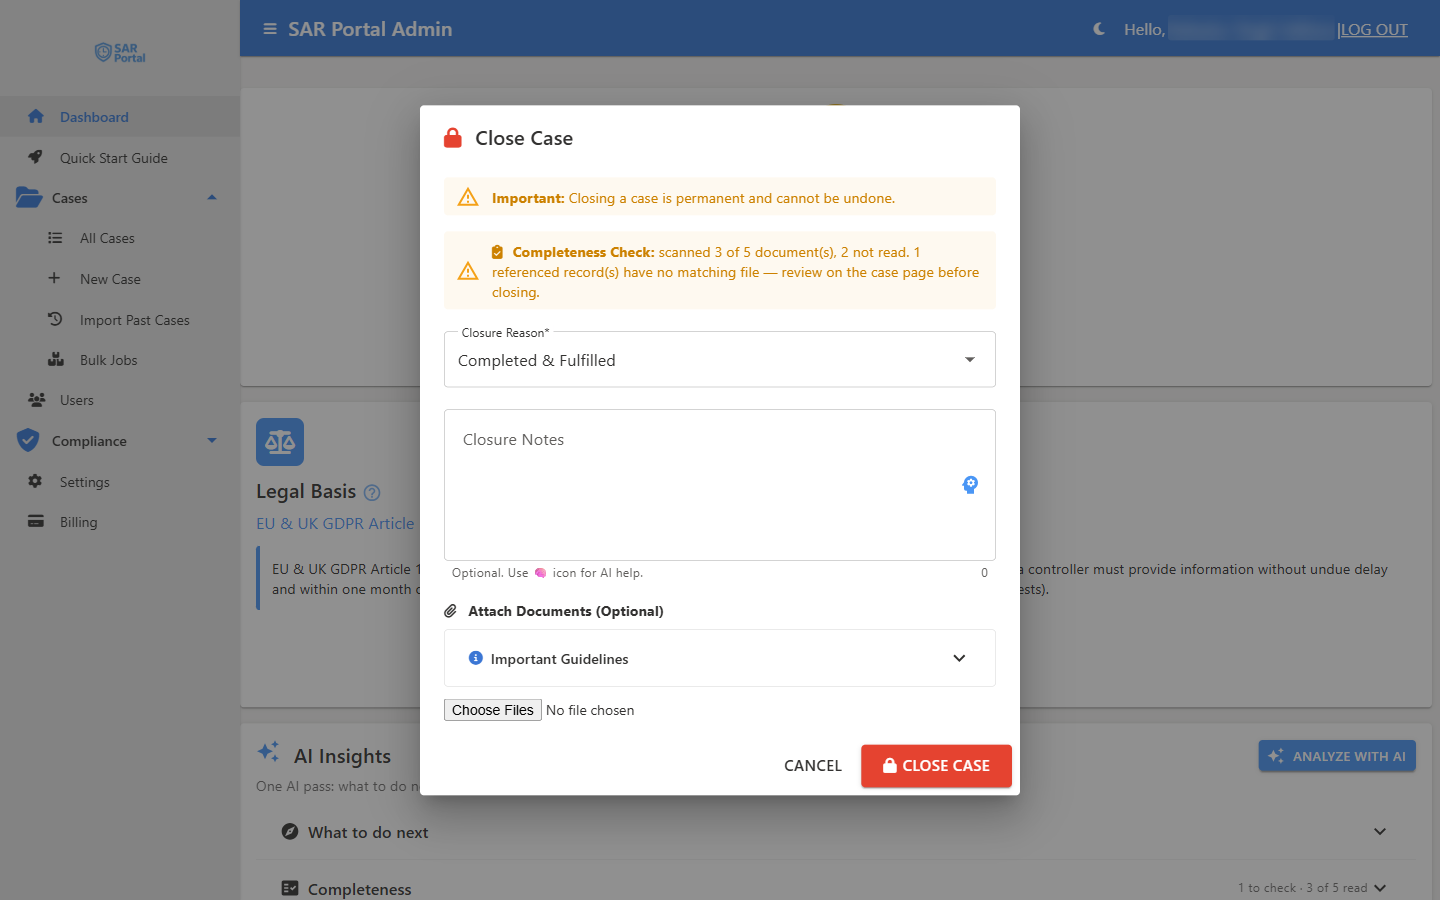
Click the red Close Case button to open the dialog. Closing is permanent, but the case is not closed until the last step, after you have reviewed the redacted files.
4.1 Choose the Closure Reason
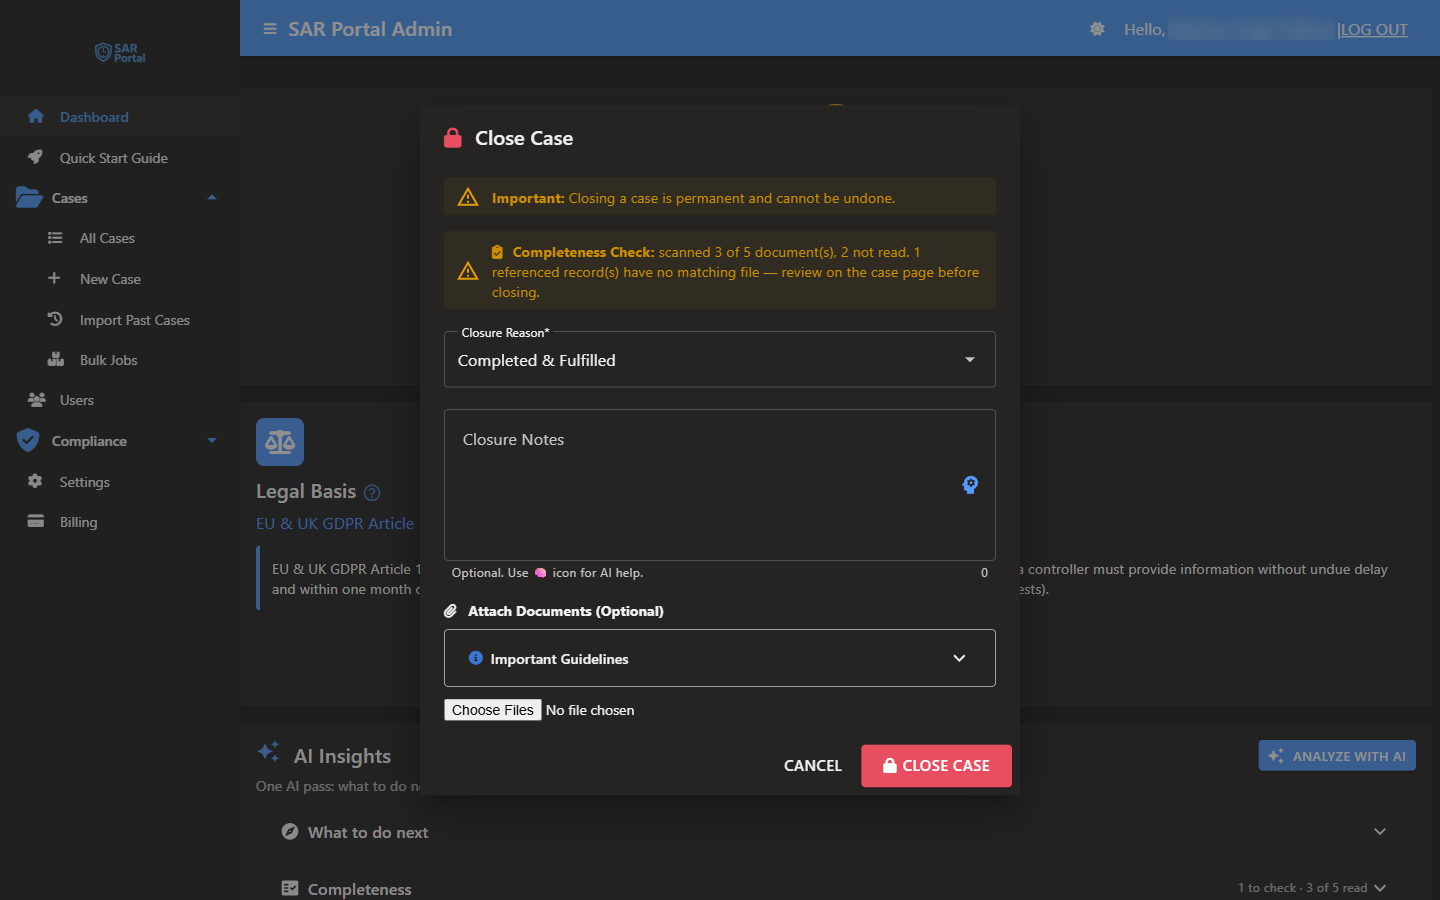
Choose a Closure Reason: here, Completed & Fulfilled. If you pick Rejected or Invalid Request, the dialog also requires a Refusal Ground. The dialog warns you if no identity verification method was recorded. When the case has documents, a Completeness Check line shows how many were scanned and how many were not read, and turns into a warning when referenced records have no matching file.
4.2 Write the Closure Notes
The Closure Notes are emailed to John with the closure email, so write them as your reply to him. Use the 🧠 icon for AI help. For an access request, include the Article 15(1) information as well as the copy: the purposes, the categories of data, the recipients, how long you keep the data, his rights, where the data came from, and any transfers outside the EEA/UK. SAR Portal does not generate a separate response letter. Do not put internal review notes here.
4.3 Attach the Response Documents
Under Attach Documents (Optional), click Choose Files and select the files you exported in Step 2. Hold Ctrl/Cmd to select several at once. Everything you attach here is sent to John. Then click Close Case: when files can be redacted, SAR Portal opens the redaction review first.
Step 5: Redact Third-Party Data (Days 21-28)
There’s no separate “Analyze for PII” button. SAR Portal checks the attached files for personal data automatically and shows the Review Detected PII screen.
5.1 Review the Detected Entities
The screen lists the entities found in each file, grouped by type. Every detected item starts ticked, including John’s own details.
12 entities detected in email-history-export.pdf
5.2 Identify Third-Party Data
Important: You must redact personal data belonging to OTHER people before sending to John.
From the list above, identify:
- John’s data (keep): john.smith@email.com, John Smith, his phone, his address
- Third-party data (redact): Sarah Jones, Mike Wilson, Emma Brown, their emails and phones
5.3 Select the Entities to Redact
Click Deselect Subject Data, then check that John’s own name, email, phone and address are unticked and that the third-party entities you want to remove are still ticked.
| Entity | Selection | Reason |
|---|---|---|
| john.smith@email.com | Untick (Deselect Subject Data) | Subject’s own data |
| John Smith | Untick (Deselect Subject Data) | Subject’s own data |
| sarah.jones@company.com | Leave ticked to redact | Third-party data |
| Sarah Jones | Leave ticked to redact | Third-party data |
| mike.wilson@company.com | Leave ticked to redact | Third-party data |
| Mike Wilson | Leave ticked to redact | Third-party data |
5.4 Redact and Attach
- Click Redact Selected (n) to apply the redactions to your selected entities
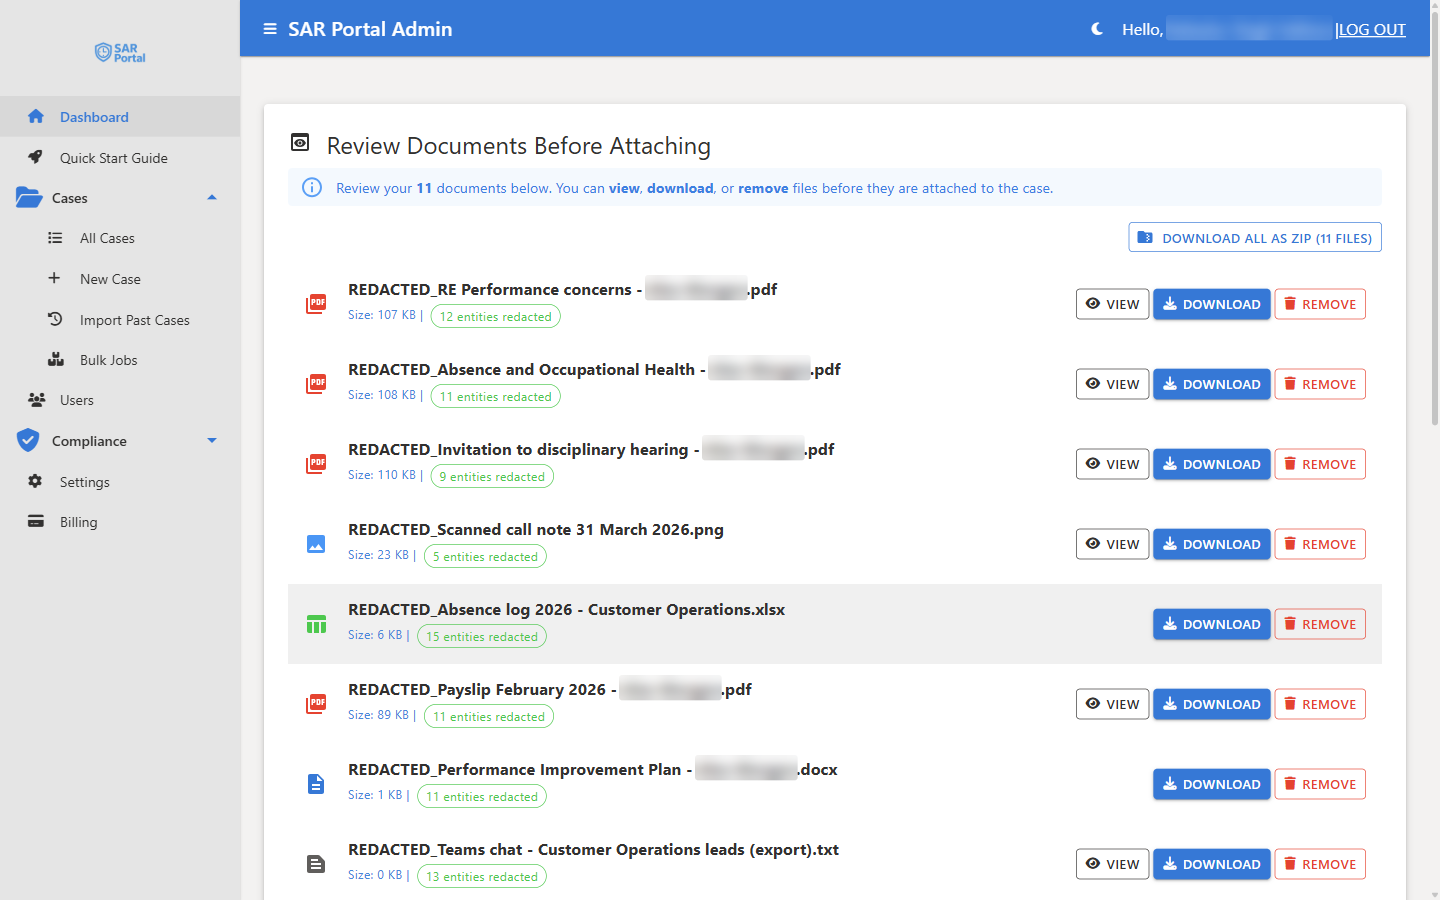
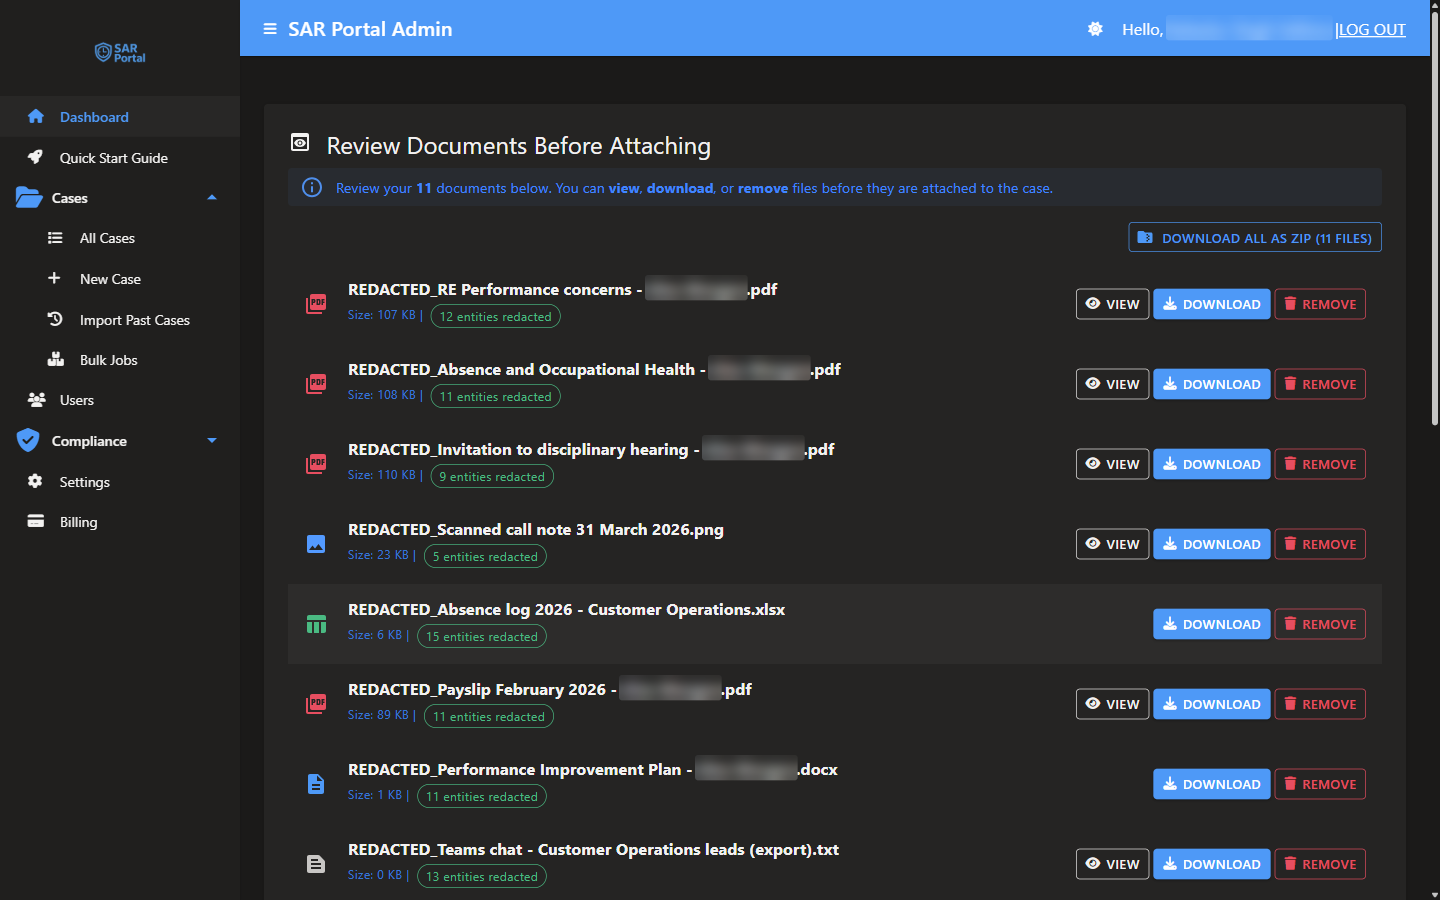
- On Review Documents Before Attaching, open each redacted file with View and check every page
- Click Confirm & Attach to Case (n) to add the files to the case
Step 6: Close the Case (Day 28)
6.1 Close Case
You return to the Close Case dialog, which lists the files that will be attached. Review them, then click Close Case to finalize.
6.2 What John Receives
Because the case has John’s email address, SAR Portal emails him the outcome with your Closure Notes, standard notices (how long the files stay available, and his rights), and a link to the secure portal. He verifies his email with a one-time code and can download the documents you attached at closure. See Downloading Your Files.
This works the same way for cases you create manually. Only when a case has no email address do you need to send the response another way, for example via:
- Encrypted email with attachments
- Encrypted file sharing link
- Physical mail if requested
Summary
You’ve successfully completed a DSAR by:
- ✅ Reviewing the incoming request
- ✅ Gathering data from all your systems
- ✅ Verifying the requester’s identity
- ✅ Writing the reply and attaching the response
- ✅ Redacting third-party information
- ✅ Closing the case, which sends the response
Time Spent
| Phase | Days | Activities |
|---|---|---|
| Review | 1 | Open case, understand request |
| Gather | 7 | Search systems, export data |
| Verify | 7 | Confirm identity, Mark Verified |
| Reply | 7 | Write Closure Notes, attach response |
| Redact | 4 | Review detected PII, redact, check pages |
| Close | 2 | Close case, response sent |
| Total | 28 | Within one-month deadline |
The Audit Trail
SAR Portal has automatically recorded:
- When the case was created
- Every status change
- All document uploads
- Redaction decisions
- Who did what and when
- Final closure details