Bulk ZIP Jobs (Enterprise)
A bulk job takes a ZIP archive of documents, extracts the files, detects personal data and redacts it, then packs the redacted files into a new ZIP archive that you can attach to the case. Use it when a request involves far more files than you would pick one by one, such as a mailbox export or a shared drive folder.
Who Can Use It
- Bulk processing is an Enterprise feature. SAR Portal turns it on for your organisation; it is off until then.
- When it is on, open cases show a Batch Redaction panel, and the upload page shows an Add ZIP Archive button.
- Only Admins see Bulk Jobs in the sidebar (under Cases) and can open the Bulk Jobs page.
- Only Admins can accept a partial archive (see below).
Limits
| Limit | Value |
|---|---|
| ZIP archive size | 5 GB |
| Files in one archive | 50,000 |
| Bulk jobs running at once | One per organisation |
- A second bulk job is refused until the first one finishes or is cancelled.
- A subscription that has been past due for 7 days or more, or is inactive, cannot start a bulk job (file uploads are blocked).
- Every page processed counts toward your page allowance (60,000 pages a year by default on Enterprise, scanned and text pages together). See Page Allowance.
Starting a Bulk Job
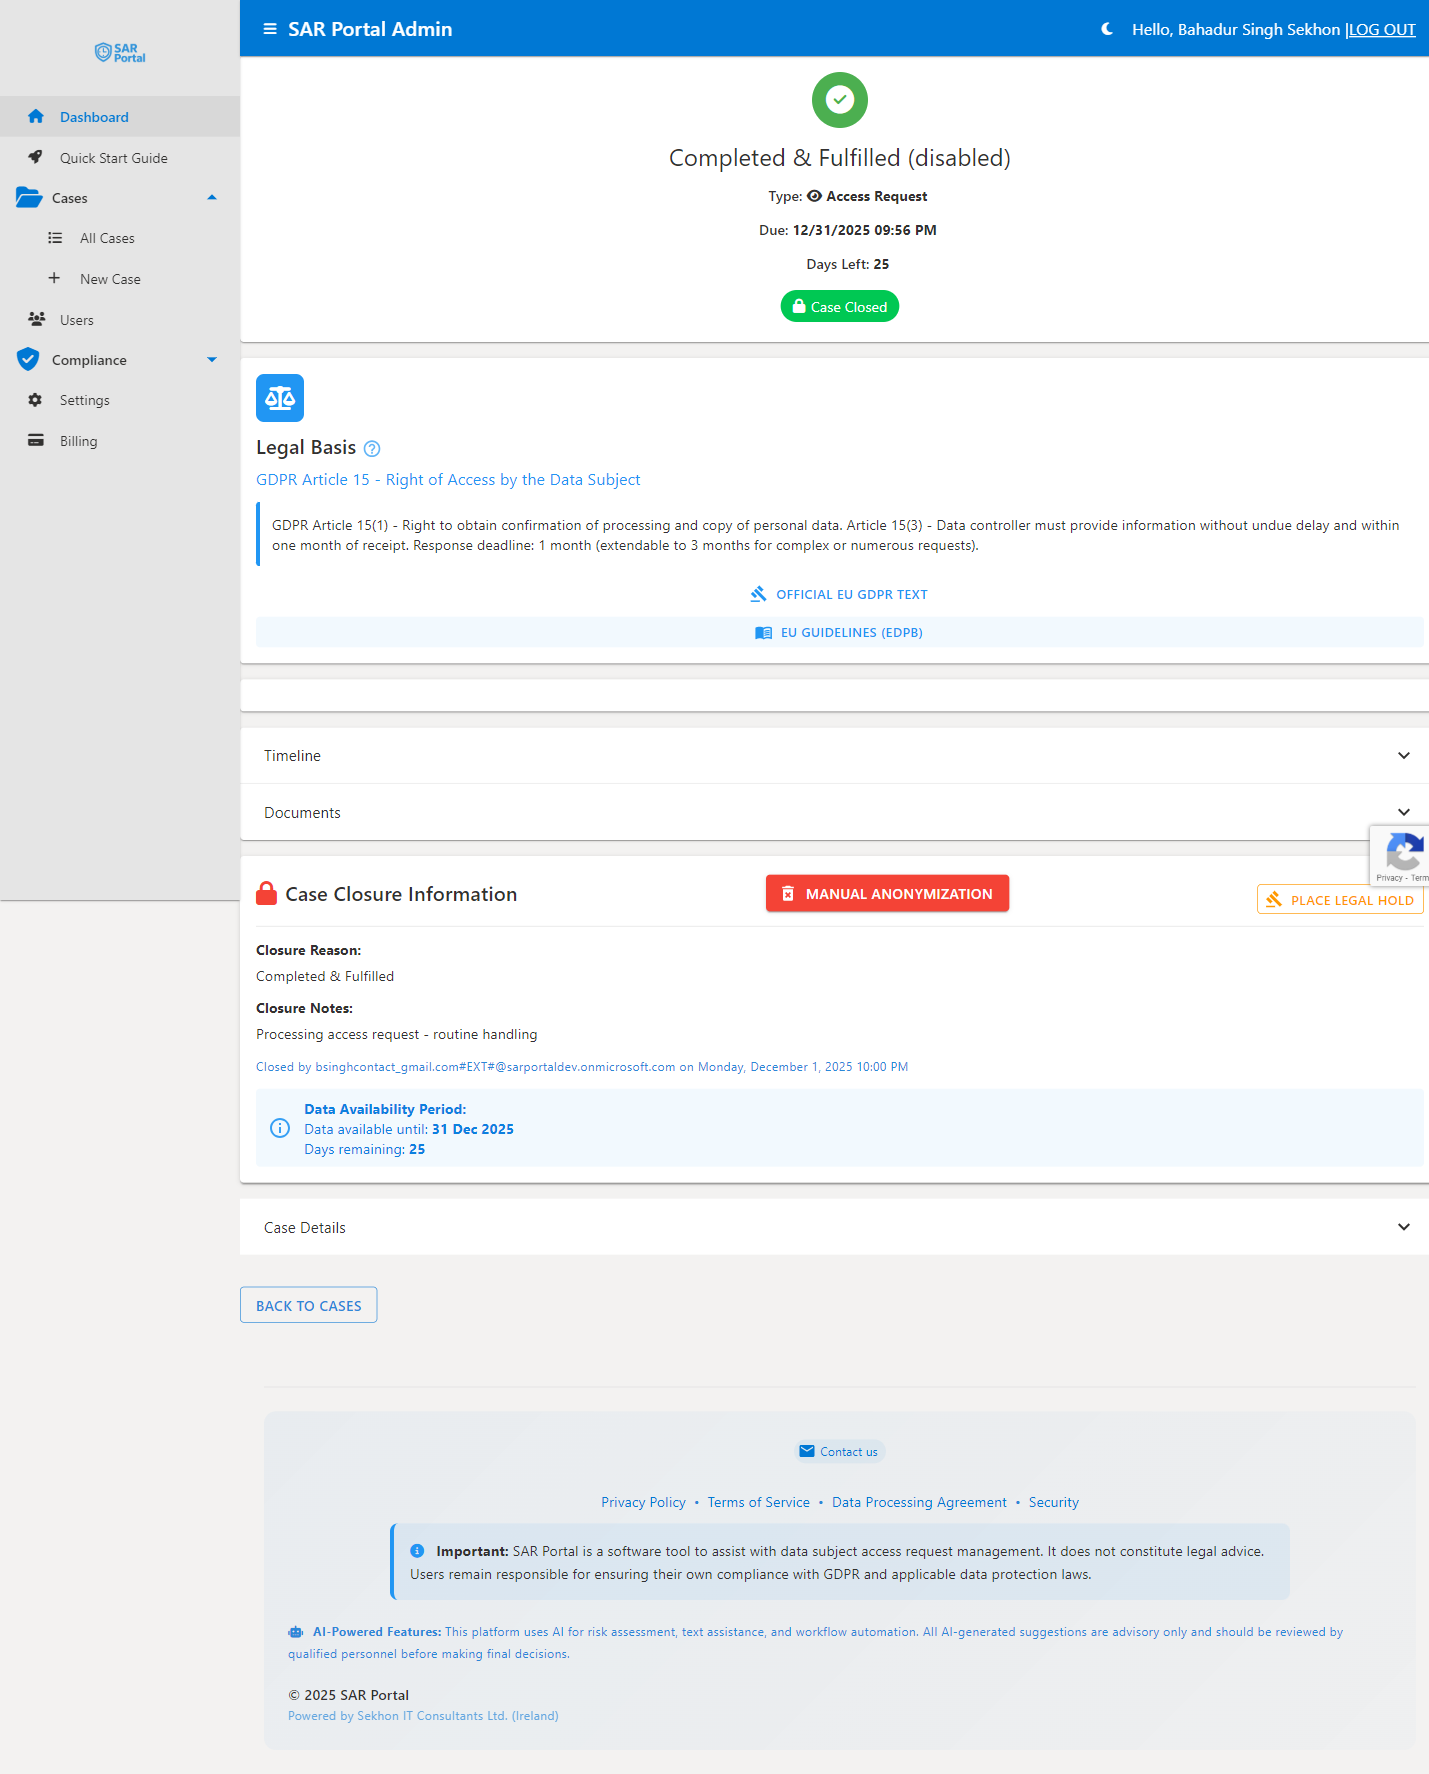
- Open the case.
- Expand the Batch Redaction panel and click Upload ZIP for Batch Redaction. (On the upload page you can also click Add ZIP Archive.)
- Under Bulk Archive Upload (“Upload a ZIP archive for automated PII redaction. Files will be processed using your saved redaction preferences.”), drag and drop a .zip file, or click Browse Files.
- Click Start Processing. The archive uploads straight to secure storage. Do not close the page while it says “Uploading”.
- The job starts. Its progress card shows each stage, for example “Extracting files from ZIP archive — detecting duplicates and validating formats…”, then the files being processed, then “Packaging redacted files into output ZIP…”.
While a job is running, Upload ZIP for Batch Redaction is disabled with “Wait for the current job to finish before uploading another ZIP.” You can stop a job with Cancel Job.
Redactions in a bulk job are applied automatically, using your saved redaction settings and the case’s PII rejection list. You review the results afterwards.
Following Progress on the Bulk Jobs Page
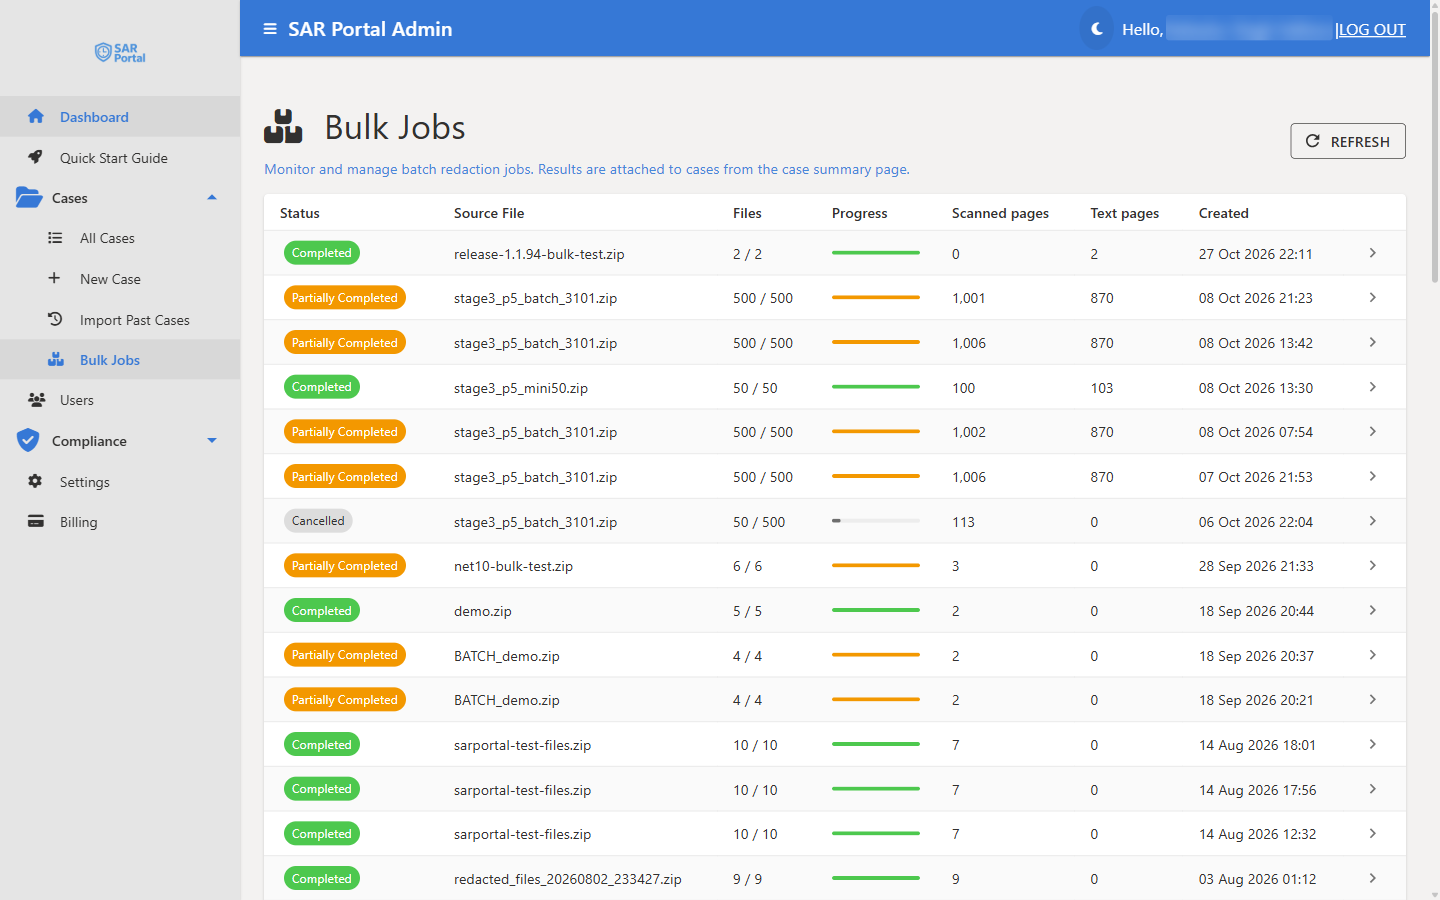
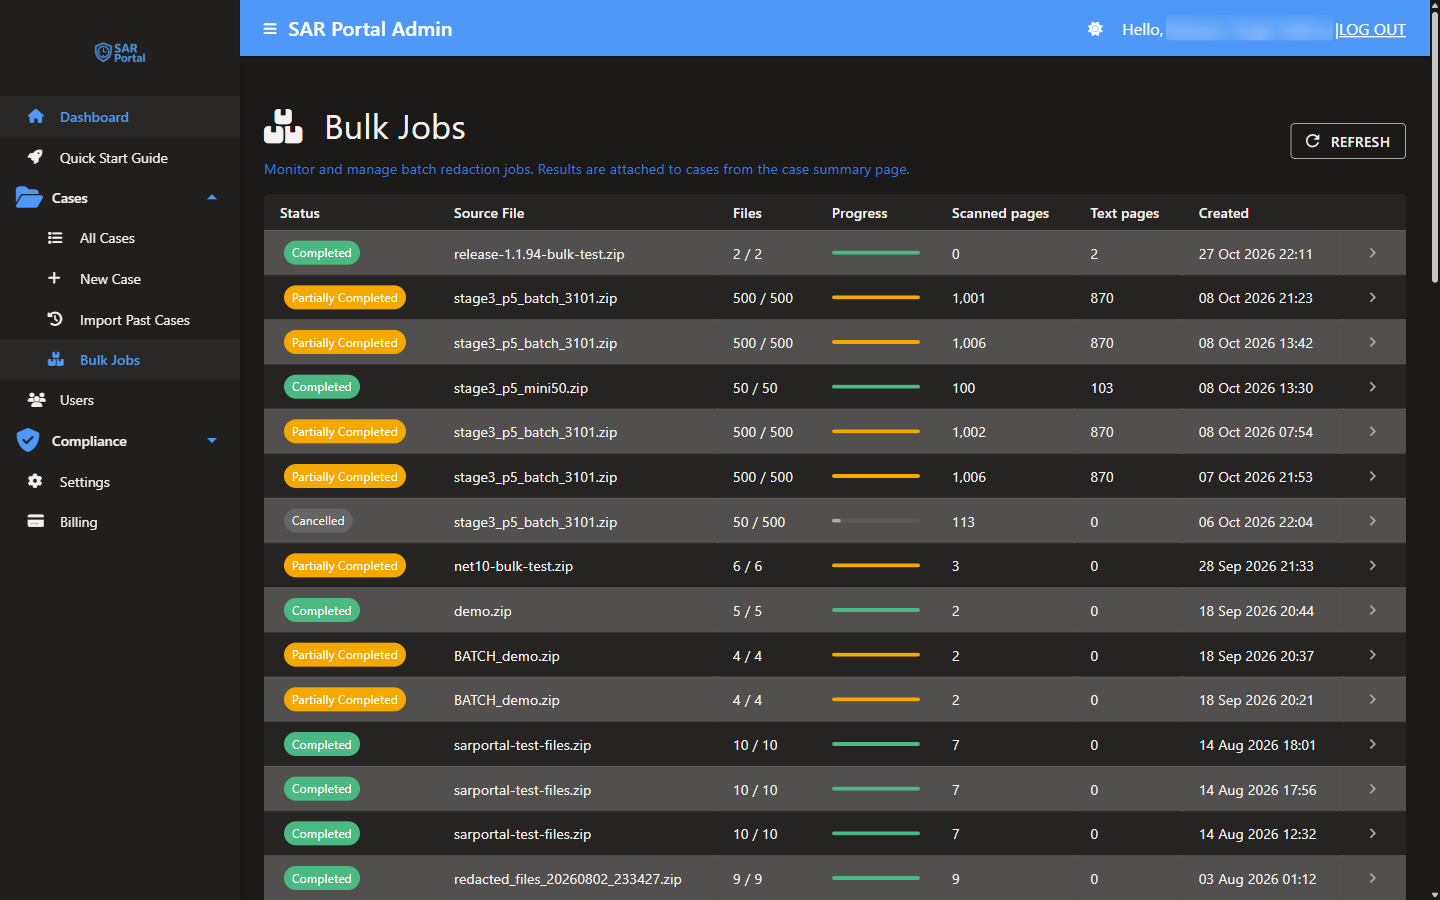
Open Cases > Bulk Jobs to see every bulk job in your organisation. The list shows Status, Source File, Files, Progress, Scanned pages, Text pages and Created. Click Refresh to update it.
The status is one of Pending, Extracting…, Estimating…, Processing…, Packaging ZIP…, Completed, Partially Completed, Failed or Cancelled.
Click a job to open its details:
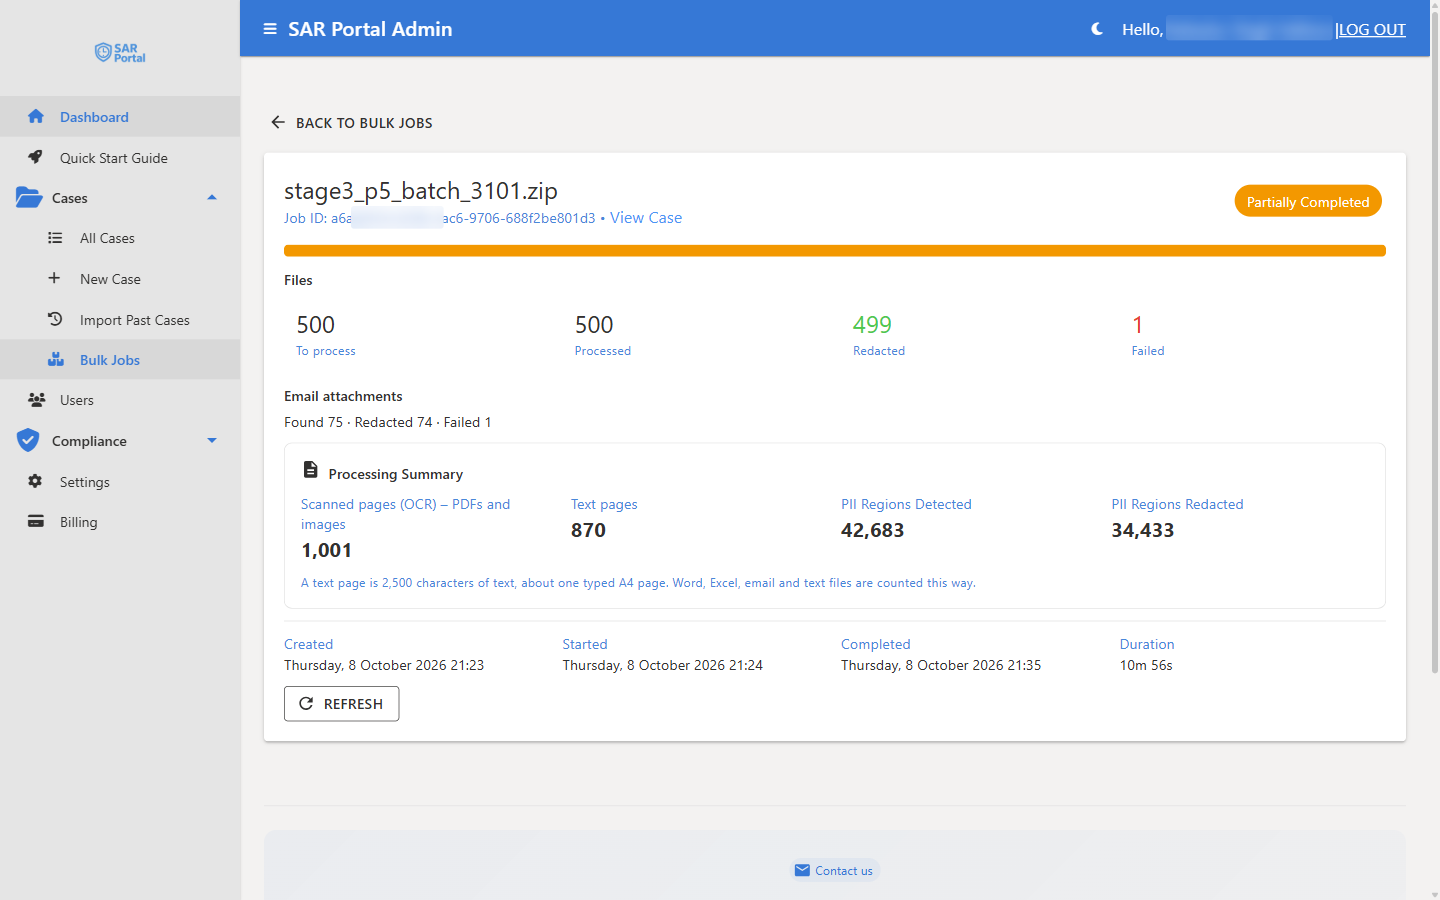
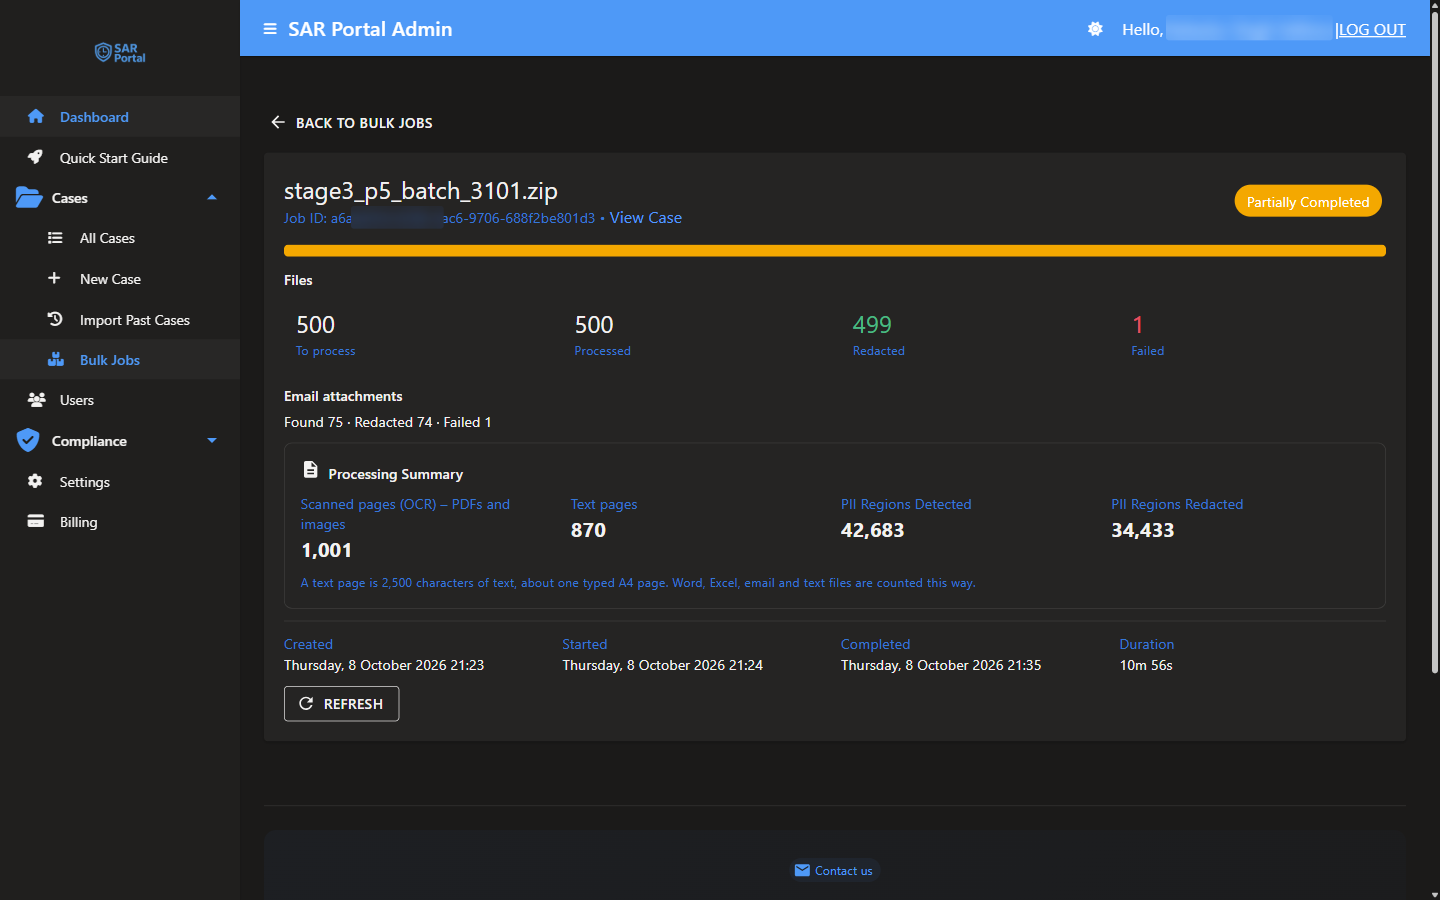
- Files - To process, Processed, Redacted and Failed
- Email attachments - how many attachments were found, redacted and failed
- Processing Summary - Scanned pages (OCR) – PDFs and images, Text pages, PII Regions Detected and PII Regions Redacted. A text page is 2,500 characters of text.
- Created, Started, Completed and Duration
- View Case - go to the case the job belongs to
When a job completes, fails or is cancelled, the person who uploaded the archive gets an email with its status and counts.
Reviewing the Results
When the job is done, the case’s Batch Redaction panel lists it with its result and the size of the redacted ZIP.
- Click Browse Files to open the file explorer.
- Use Search files… and the Format filter to find files.
- Check the status shown for each file:
- Not redacted - no personal data was detected, so the file is included unchanged
- Check images - the file holds pictures that text redaction cannot change; check them before sending
- Failed - the file could not be redacted
- Duplicate of - the file is a copy of another file in the archive
- Manually edited - someone added redactions by hand
- Excluded - you left the file out
- Not processed (job cancelled) - the job was cancelled before this file was processed
- Use the Include column to include or exclude each file from the archive you will attach.
- For redacted PDFs and images, click the brush icon (Review & edit — add redactions) to black out anything the automatic pass missed. See Adding Redactions by Hand.
- Use the Preview or Download icon to check a file, or Remove from archive to drop it.
Click Dismiss to remove a job from the panel without attaching it.
Attaching the Results to the Case
“To attach these files to the case, use Request Info or Close Case actions.”
- Start Request Info or Close Case on the case.
- The dialog shows Batch Results Will Be Attached (n). Only the files you included in the file explorer go into the attached ZIP.
- Complete the action as usual. Once attached, the job moves to Previously Completed in the Batch Redaction panel, and its files are in the case’s Documents panel.
Partial archives
If you cancel a job, its archive holds only the files processed before the cancellation. It shows a Partial archive. notice and is not attached until an Admin clicks Use partial archive on the job in the Batch Redaction panel, agreeing to send it as it is. Other users see “An administrator must accept this partial archive before it can be attached.”
Related
- Batch Processing - several files through the normal upload flow
- Adding Redactions by Hand
- Supported Formats
- Case Actions