Portal Customization
Customize your public portal so data subjects recognise your organization. Every plan shows your company name. The Branding & Portal settings (logo, colours, font and footer) need a Pro or Enterprise plan. Editing email templates needs Enterprise.
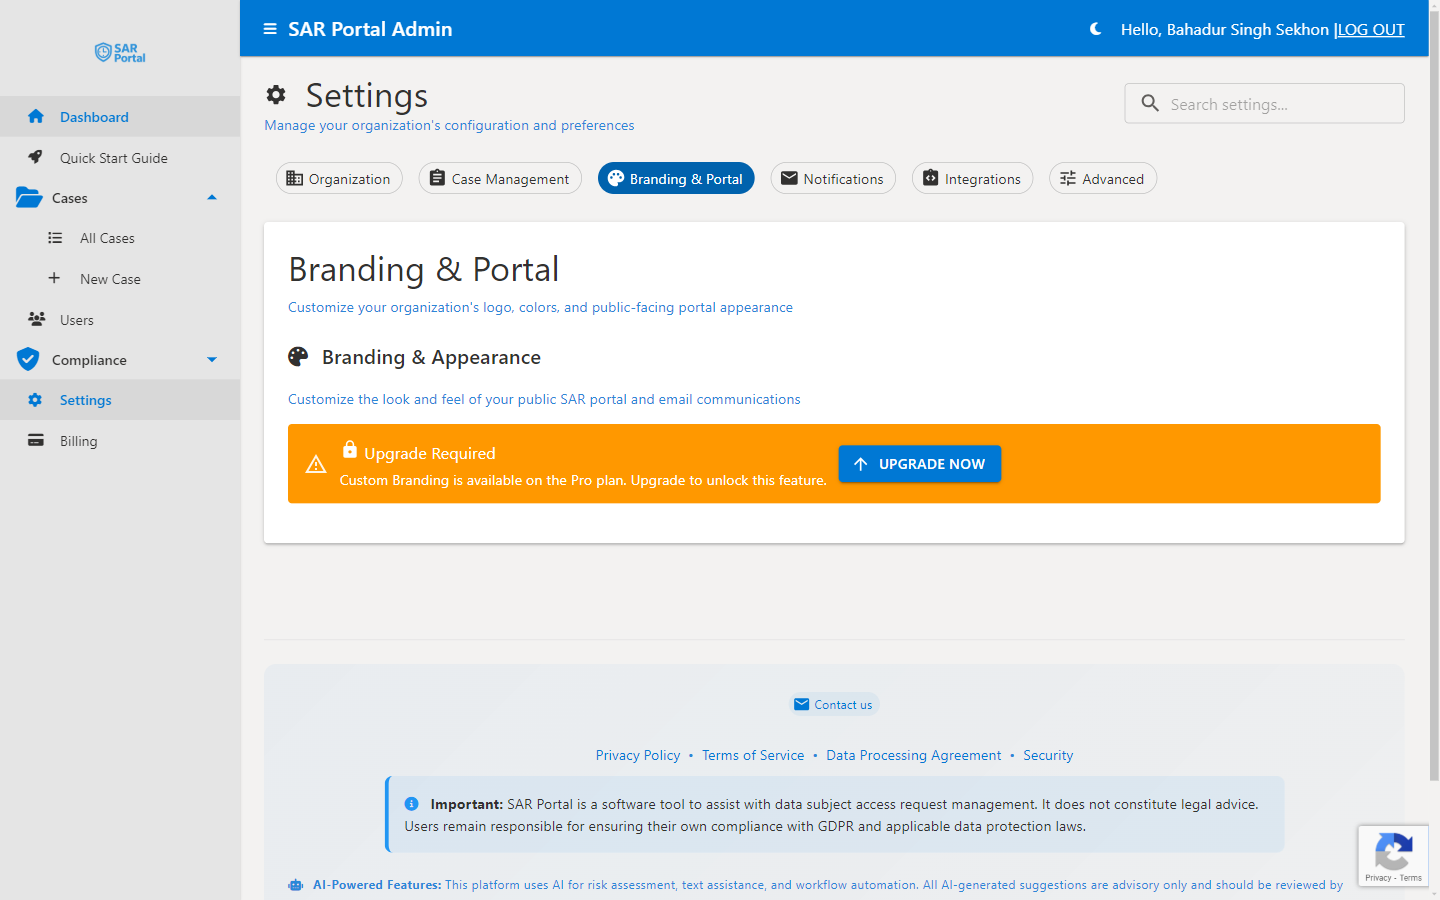
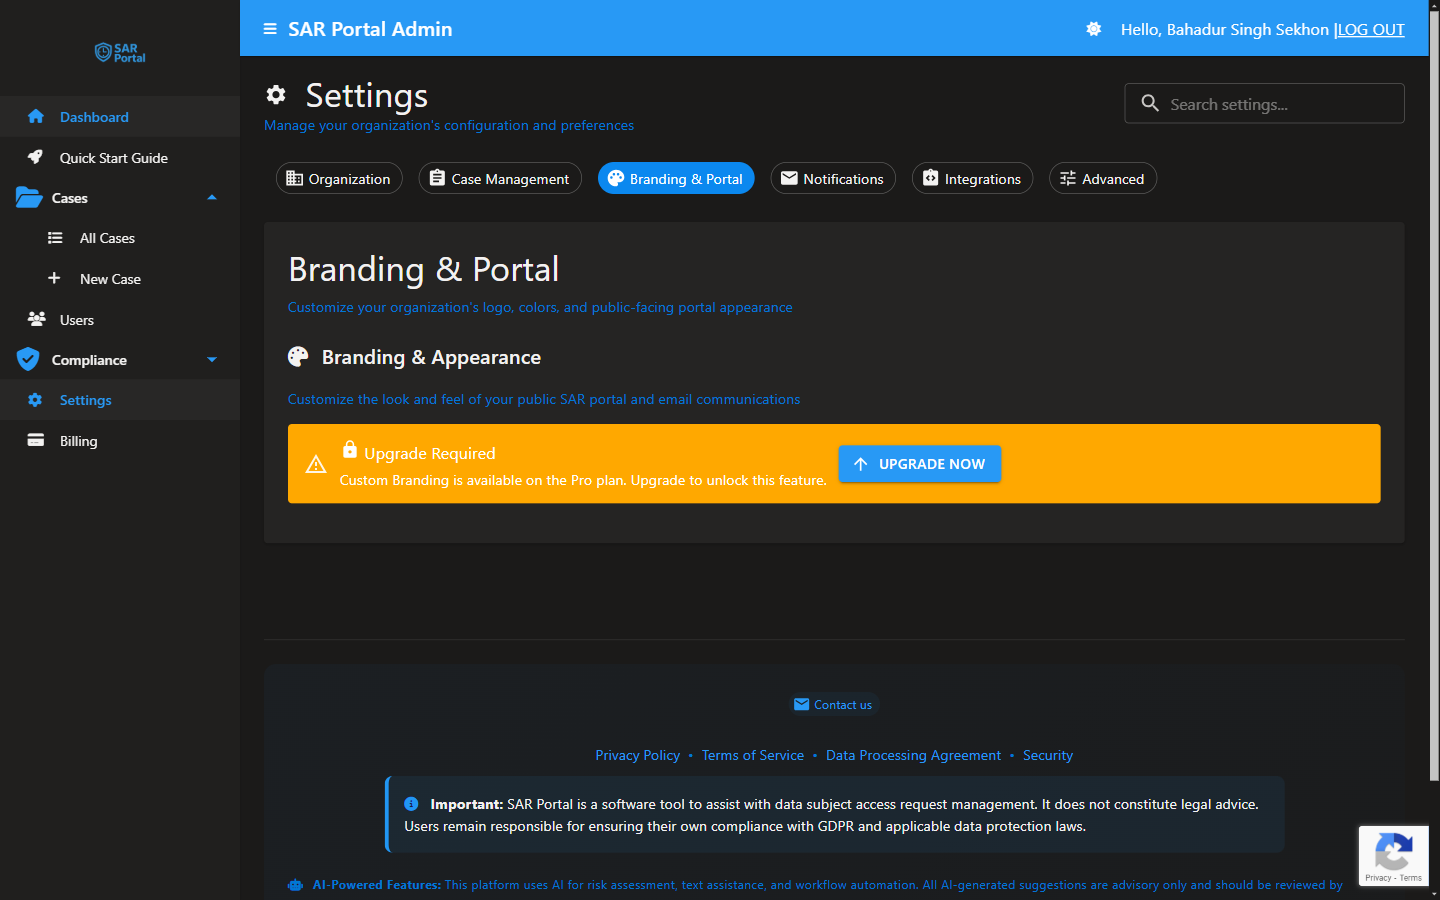
Accessing Customization Settings
- Go to Settings in the sidebar
- Click Branding & Portal
- Make your changes
- Click Save Branding Settings (or Reset to Defaults to start again)
- Preview the portal: go to Settings > Integrations > Public Portal Access and click Test Portal, which opens the portal in a new tab
On Basic and Starter the Branding & Portal section shows an upgrade prompt instead of the settings.
Branding Options
Company Name
Set under Settings > Organization > Company Details > Company Name. Shown on every plan:
- In the portal header (when there is no logo, or when Show company name below logo on public portal is on)
- In emails to data subjects
- In the portal footer
Company Logo (Pro and Enterprise)
- Recommended: PNG or SVG with a transparent background
- Dimensions: 400 x 120 px (landscape works best)
- Maximum file size: 2MB
- Formats: PNG, JPG, SVG, GIF, WEBP, BMP, TIFF, ICO
- Used in the portal header and in email headers (scaled to 200 x 60 px)
- Show company name below logo on public portal - turn on to show your company name under the logo
Primary Color (Pro and Enterprise)
Enter a Hex Color Code (for example #667eea) or use the colour picker. On the portal it colours the “Subject Access Request Portal” subtitle under your name. It is also the text colour of the button code in Get Embed Code.
Navigation Bar Color (Pro and Enterprise)
Background colour for the top navigation bar. It is also the background colour of the button code in Get Embed Code.
Font Family (Pro and Enterprise)
The font for your public portal. Choices: Roboto (Default), Arial, Helvetica, Open Sans, Segoe UI, Georgia, Times New Roman, Courier New.
Email Footer (Pro and Enterprise)
Email Footer (Plain Text) - custom footer text for email communications and the public portal.
- Plain text only; HTML tags are removed
- Maximum 500 characters; line breaks are kept
- Web addresses and email addresses become clickable links
- On the standalone portal it replaces the default footer line (copyright and contact email)
Use it to link to your own privacy policy. The consent text on the portal always links to SAR Portal’s privacy notice and cannot be changed.
Contact Email
Set under Settings > Organization > Company Details > Contact Email, not in Branding. The standalone portal footer shows it, with the copyright line, only when the Email Footer is empty.
Request Types Offered
The portal’s Request Type list follows Settings > Case Management > Enabled Request Types. Turn off the types you do not want requesters to choose. If none are set, all eight types are offered. See Case Management settings.
Email Customization
Email Templates (Enterprise)
On Enterprise you can edit the wording of these emails to data subjects in Settings > Notifications:
- Request Confirmation
- Status Update
- Deadline Extension
- Information Request
- Case Closure
- Anonymization Notice
The Verification Code email (the one-time code) is a system template and cannot be customised. On other plans you can preview the templates but not edit them. See Notifications.
Email Appearance
- Your logo in the email header (Pro and Enterprise)
- Your company name and signatory in the sign-off (Settings > Organization > Email Signatory)
Best Practices
Branding
- Use your official logo
- Match your website colours
- Test on mobile devices
Privacy Policy
- Put a link to your current privacy policy in the Email Footer
- Make sure the policy covers how you handle data subject requests
Contact Information
- Use a monitored email address as your Contact Email
- Consider a dedicated address for data protection queries
Testing
- Click Test Portal and submit a test request yourself
- Check the confirmation email arrives
- Check the case appears in Cases
- Test on different devices
What Data Subjects See
Sign-in Page
- Your logo and/or company name
- “Subject Access Request Portal” subtitle
- Enter your email field
- Consent text and the I have read and agree to the Privacy Notice. checkbox
- Send Code button, then Enter code from email and Verify
After Verification
Three tabs: Create New Request, Your Cases and Case Details. A requester with existing cases starts on Your Cases.
Submitting a Request
- Your Full Name
- Request Type
- Additional Details (Optional) - up to 500 characters
- Submit Request
Confirmation
The portal switches to Your Cases, which lists the new case with its 8-character Case ID, type, status and due date, and SAR Portal emails the requester a confirmation. The requester uses the same portal link to come back, track the case and download files. See Downloading Your Files.
Mobile Experience
The portal is responsive:
- Works on phones and tablets
- On phones the tabs use short labels (New request, Your cases, Details)
- The cases table drops the due date column on small screens
Test on mobile to check that your logo displays correctly and the forms are usable.