Getting Started
Welcome to SAR Portal! This guide walks you through everything you need to go from signup to processing your first real DSAR request.
Your First 30 Minutes
| Step | Time | What You’ll Do |
|---|---|---|
| 1 | 2 min | Accept your invitation |
| 2 | 3 min | Set up your organization |
| 3 | 5 min | Configure your public portal |
| 4 | 2 min | Set up email branding |
| 5 | 5 min | Create a test case |
| 6 | 3 min | Go live |
Step 1: Accept Invitation
When you register on sarportal.com, you’ll receive an email invitation.
What to Expect
- Check your inbox for an email from SAR Portal (“Your DSAR trial is ready — start your first case now”)
- Click Start Your First DSAR in the email
- Sign in with your email address and complete the sign-in steps
- You arrive in the app
After Logging In
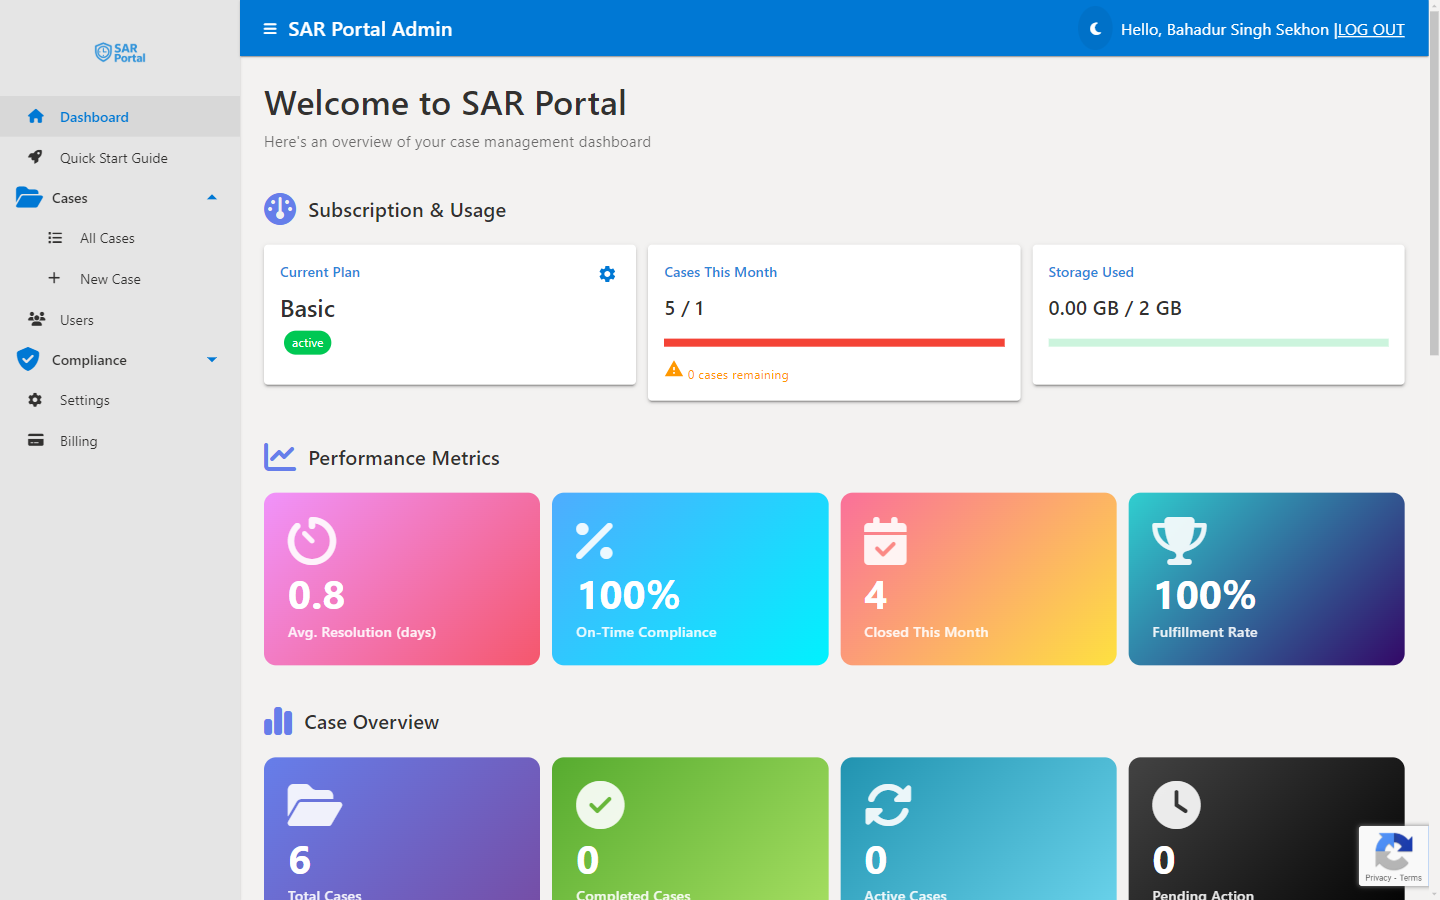
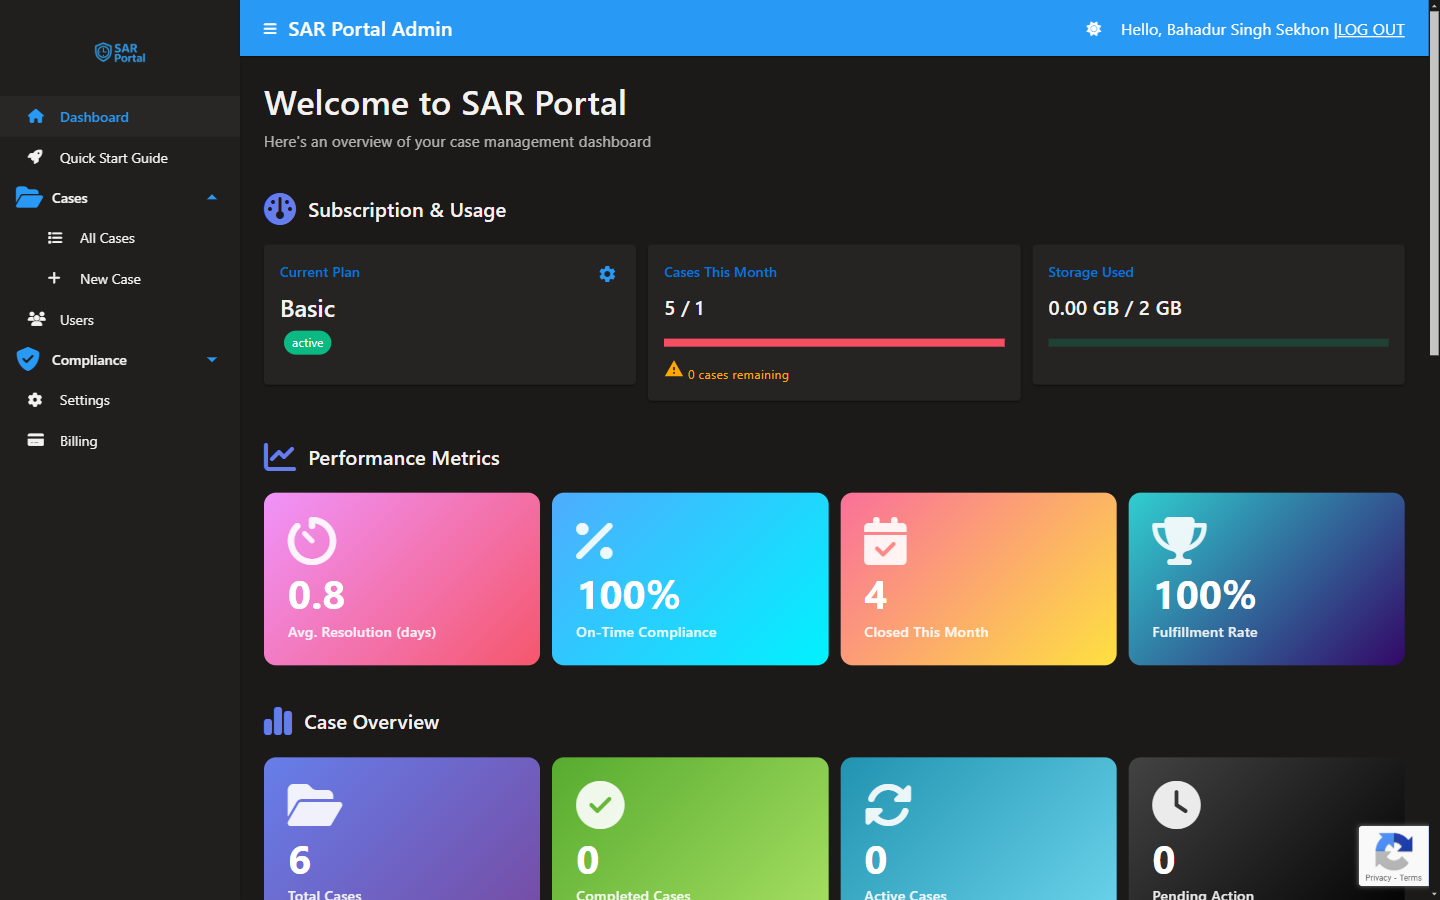
You’ll see your Dashboard - the command center for all your DSAR activities:
Step 2: Organization Setup
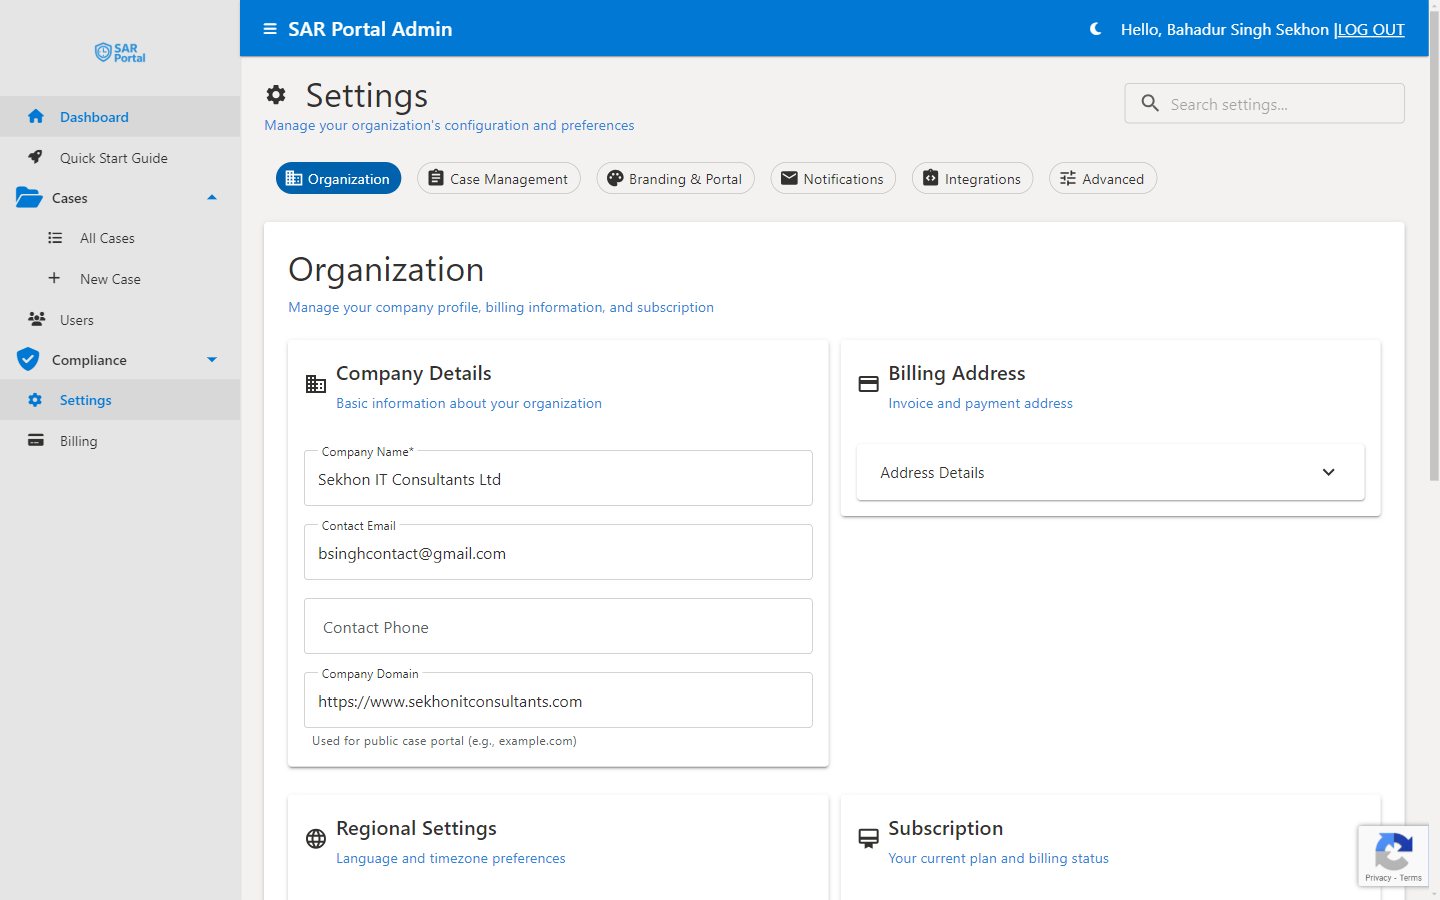
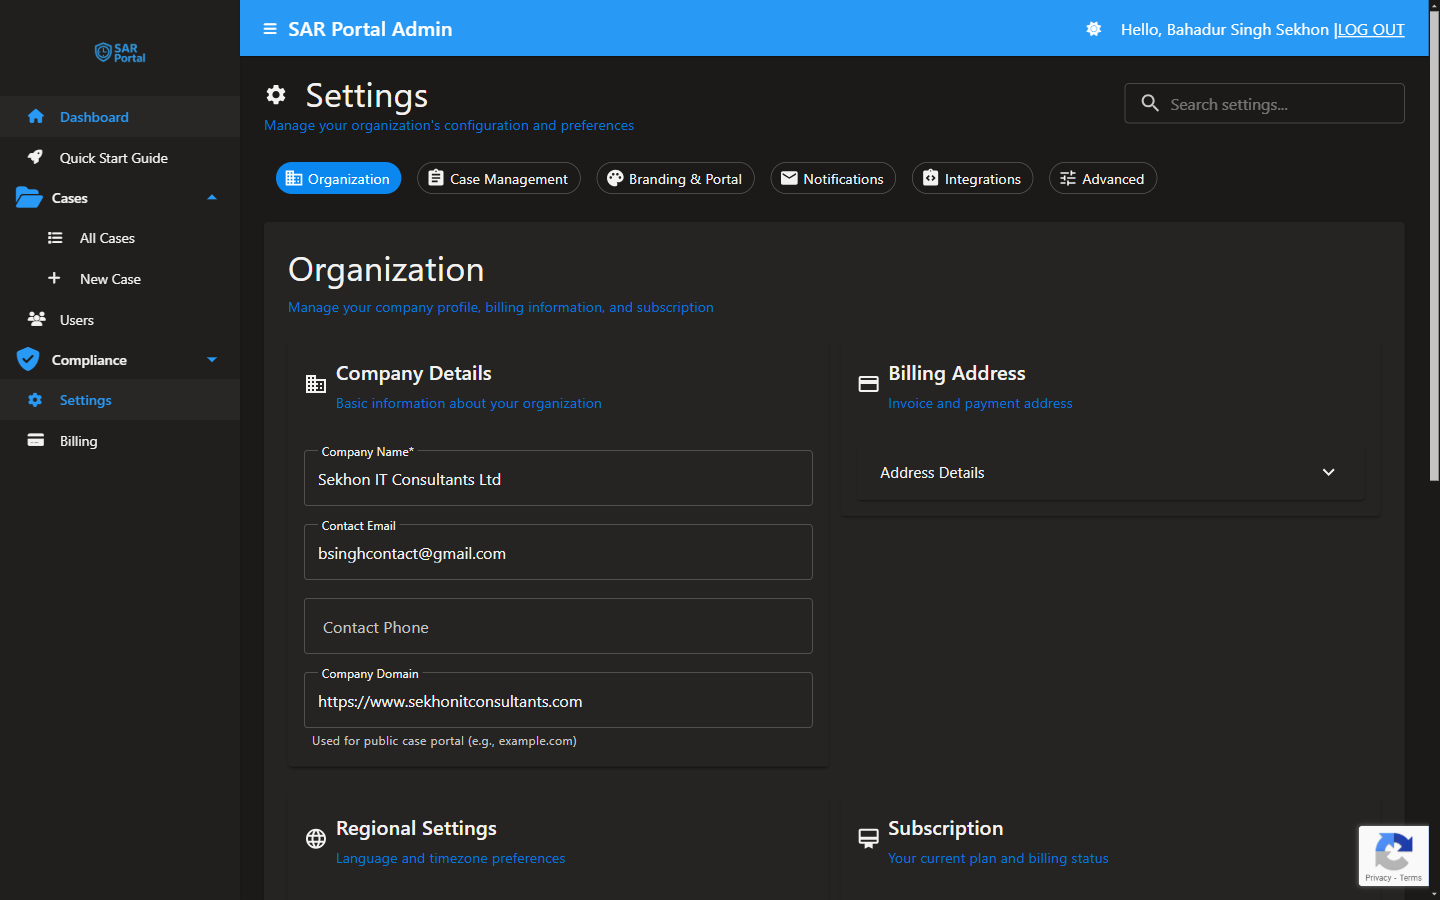
Before accepting requests, configure your organization details. (Settings is an Admin-only area — if you don’t see it in the sidebar, ask an admin in your organization.)
What to Configure
| Section | Fields | Why It Matters |
|---|---|---|
| Company Details | Company Name, Contact Email, Contact Phone, Company Domain | Shown in the emails sent to data subjects |
| Email Signatory | Signatory Name, Signatory Title, Sign-off Wording | Who signs the emails (optional) |
| Billing Address | Street Address, City, Postal Code, Country, VAT Number (Optional) | Used for billing and VAT |
| Regional Settings | Language, Time Zone, Country | Time Zone sets how dates and times are shown in the app; Country is used for legal compliance |
Click Save Changes when you are done.
Step 3: Public Portal
Your public portal is where data subjects submit requests. This is the link you’ll add to your privacy policy.
Configure Your Portal
https://app.sarportal.com/subjectaccess?token=your-portal-token
- Copy the Portal URL with the copy icon next to it
- Click Test Portal to see the portal as a data subject sees it
- Click Get Embed Code if you want to embed the portal on your website
- Click Create Additional Portal URL if you need another link, for example one that expires
The request types the portal offers are the ones switched on in Settings > Case Management > Enabled Request Types.
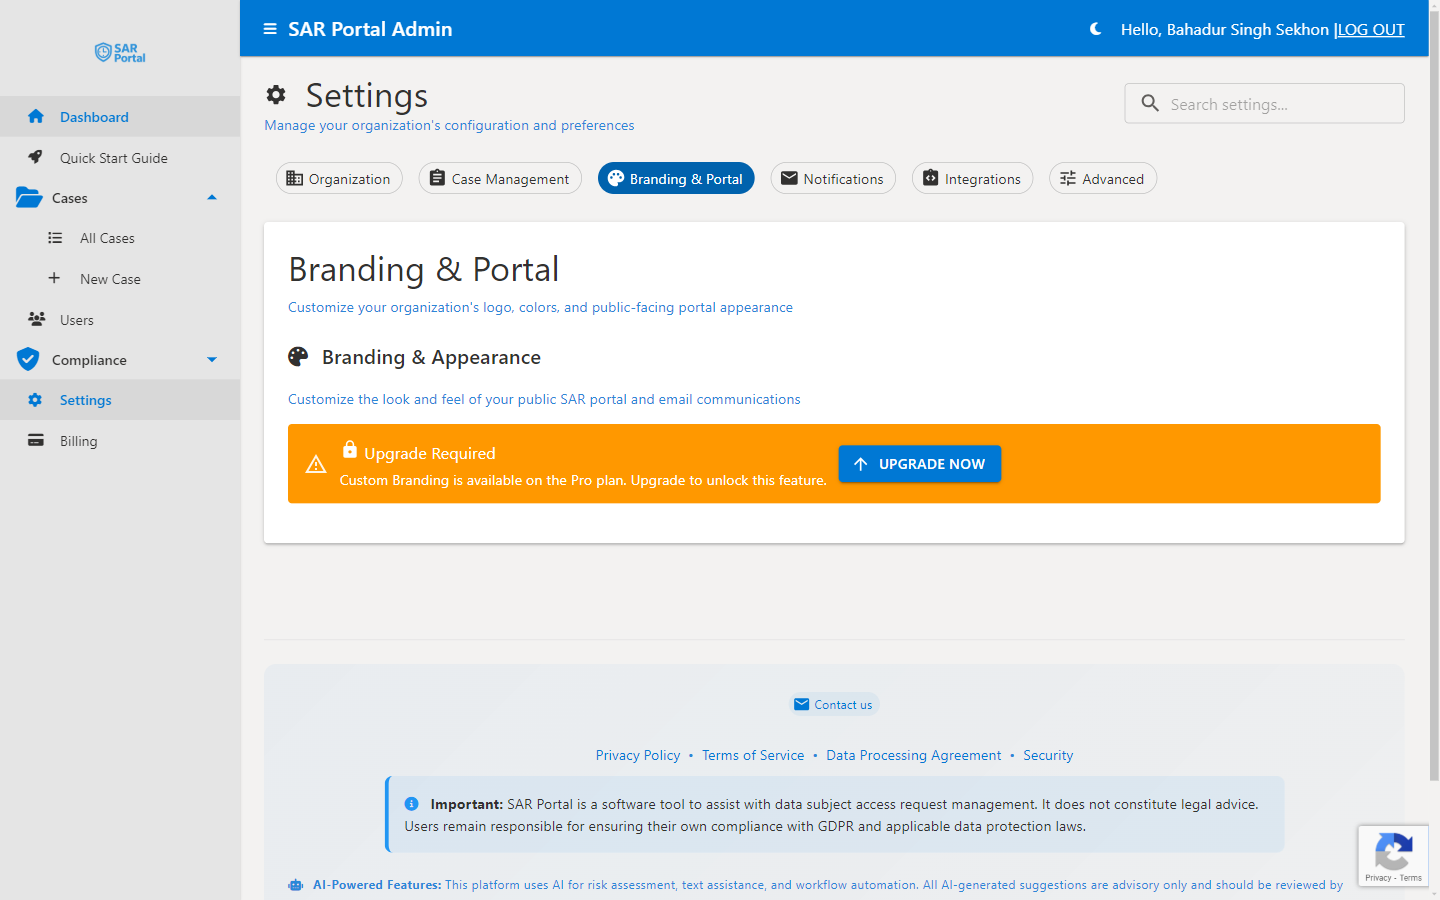
Brand Your Portal (Pro and Enterprise)
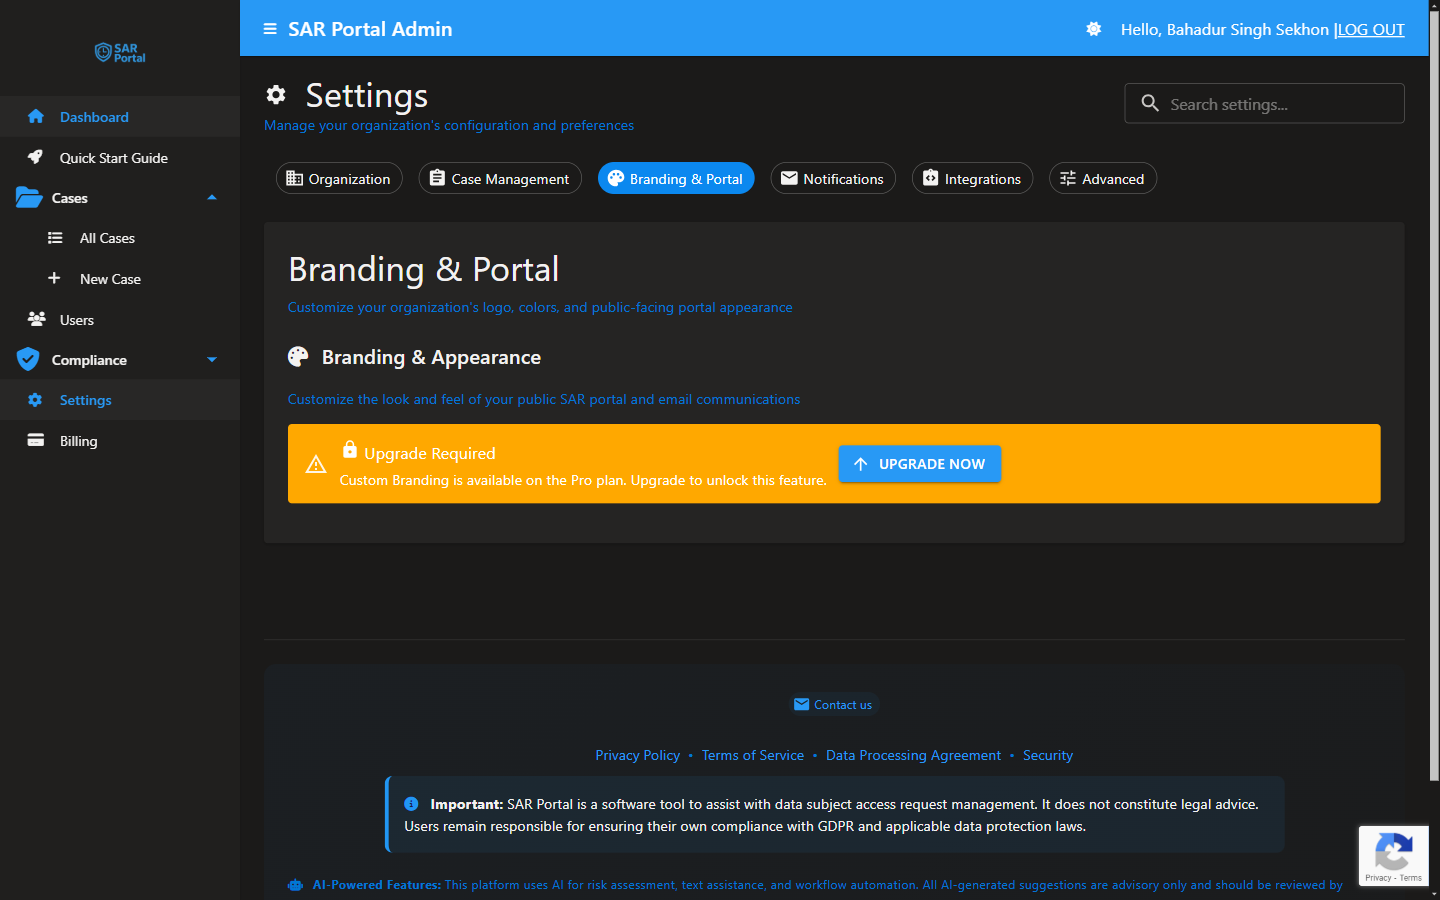
Your logo and colours are set on the Branding & Portal tab, not on Integrations. Logos can be PNG, JPG, SVG, GIF, WEBP, BMP, TIFF or ICO, up to 2MB. On Basic and Starter the tab shows an upgrade prompt.
Add Portal Link to Your Website
Add this to your privacy policy or contact page:
<a href="https://app.sarportal.com/subjectaccess?token=YOUR-PORTAL-TOKEN">
  Submit a Data Request
</a>
Example text for your privacy policy:
“To exercise your data protection rights (access, deletion, correction), please visit our Data Request Portal at
[your-portal-url].”
Step 4: Email Branding (Optional)
Customize how automated emails look when sent to data subjects.
What You Can Configure
Your emails use the company name, contact email, phone and website from Settings > Organization, and the logo and colour from Branding & Portal. The Notifications section shows them read-only under Email Branding, lets you preview the email templates, and has Send Test Email. It also has the optional DPO Email Copies switch (CC DPO on all case emails).
Email: privacy@yourcompany.com
Phone: Not Set
Website: yourcompany.com
Step 5: Create Test Case
Practice with a test case before going live.
Fill in the Form
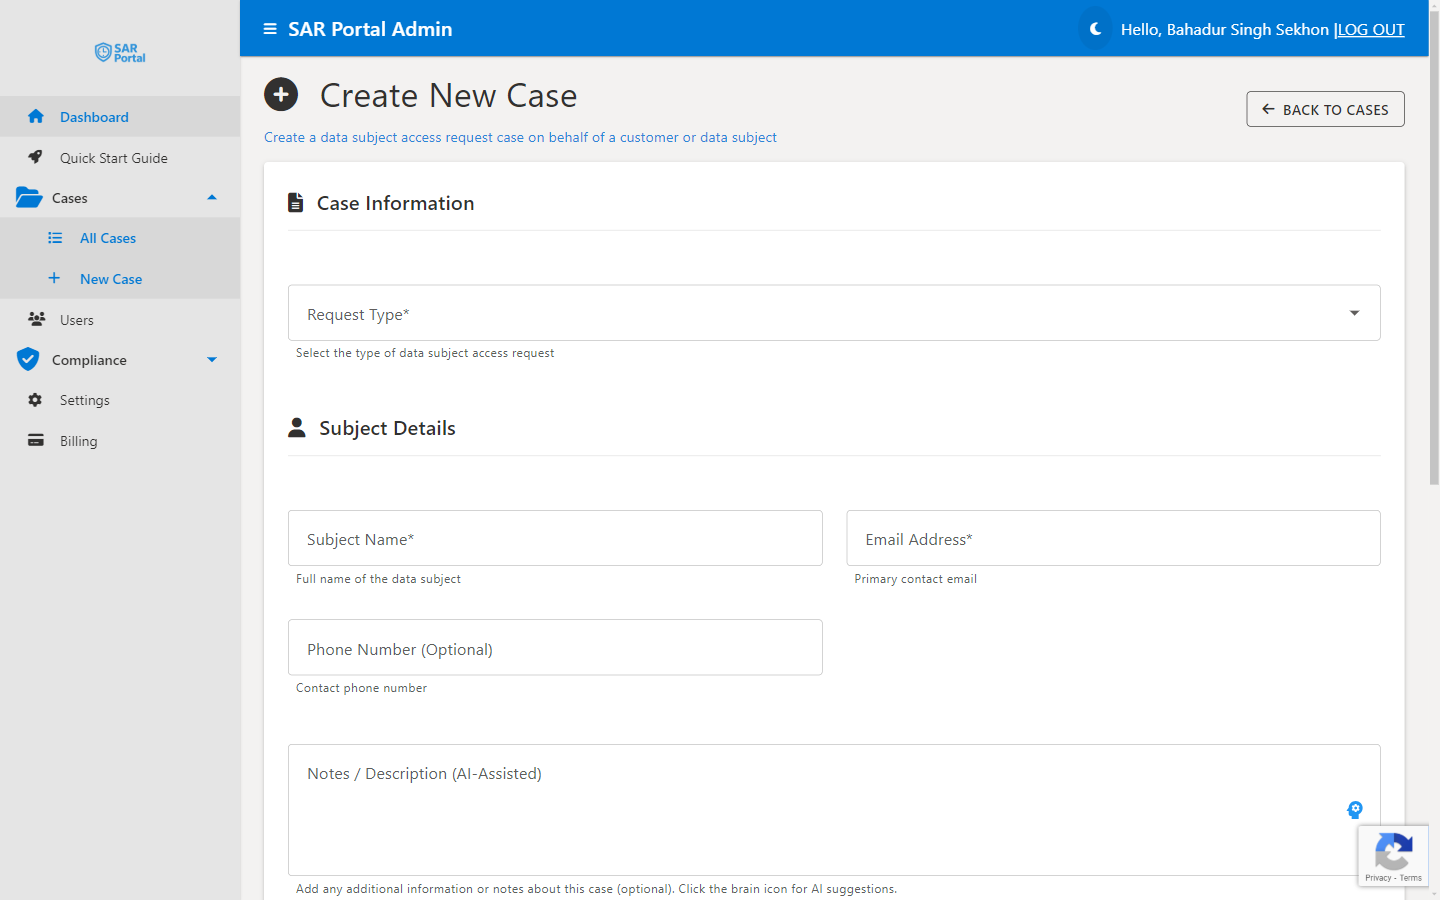
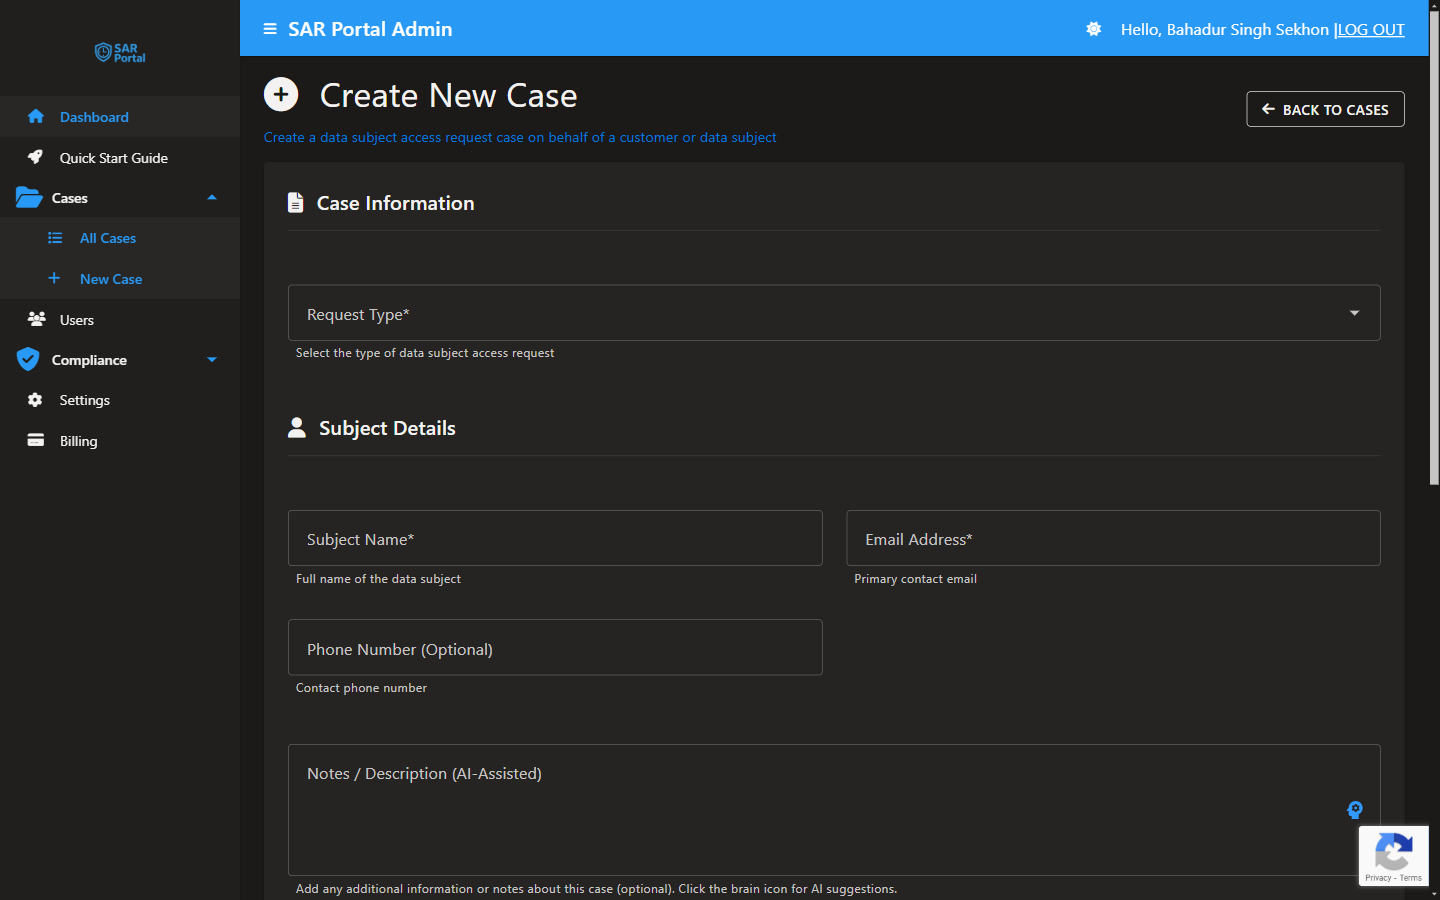
On the Manual Entry tab, choose the Request Type, enter the Subject Name and Email Address, set the Date Request Was Received, add Notes / Description (AI-Assisted) if you like, and click Create Case.
Test the Workflow
After creating your test case:
- Open the case - Click on it in the Cases list to open its summary page
- Attach a document - Documents are attached inside a case action (Request Info, Submit Info, or the Close Case dialog). Open one of those dialogs and use the file picker (hold Ctrl/Cmd to select several) to add a sample PDF
- Review detected PII - Redactable files are scanned automatically and you land on a “Review Detected PII” screen. Every detected item starts selected, including the requester’s own details: click “Deselect Subject Data”, check the selection, click “Redact Selected”, review, then “Confirm & Attach to Case” (or “Skip Redaction” to attach unchanged). AI is available on all plans, within the plan’s page allowance (Basic 125, Starter 1,250, Pro 5,000 pages a month; 500 pages during a trial)
- Change status - Move it through the workflow
- Close the case - Click the red “Close Case” button and choose “Completed & Fulfilled”
Case Statuses Explained
| Status | Meaning | Next Action |
|---|---|---|
| Opened | New request, not started | Begin gathering data |
| In Progress | Work has begun | Continue processing |
| Identity Verified | Identity confirmed | Safe to share personal data |
| Completed & Fulfilled | Request satisfied and closed | No action needed |
Step 6: Go Live
You’re ready to accept real requests!
Pre-Launch Checklist
- Organization details are complete and accurate
- Public portal is branded with your logo/colors on Branding & Portal (Pro and Enterprise)
- Portal URL tested in incognito/private browser
- Request types you handle are switched on (Settings > Case Management)
- Organization details appear correctly in a test email (Send Test Email)
- Portal link added to your privacy policy
- Test case completed successfully
Quick Links to Complete Setup
What Happens When Requests Arrive
From Your Public Portal
When someone submits through your portal:
- Case is automatically created
- You receive an email notification
- Subject’s email is already verified
- Case appears in your Cases list with status “Opened”
Via Email, Letter, or Phone
For requests received outside the portal:
- Create a case manually in SAR Portal
- Enter the subject’s details
- Attach any documents received via a case action (Request Info, Submit Info, or Close Case) using the file picker
- Process as normal
Next Steps
Invite Your Team
- Go to Users in the sidebar (Admin-only)
- Click Invite User
- Enter their email and select a role (Admin / Case Manager / Reviewer / Read Only)
- Click Send Invitation — they’ll receive an invitation email
Explore Features
Get Help
- Email: support@sarportal.com
- Documentation: Browse these docs
- In-App Guide: Click “Quick Start Guide” in the sidebar
- Install as an app: Install SAR Portal as an App
Common Questions
Q: How do I know if my portal is working? A: Open your portal URL in a private browser and submit a test request using a different email.
Q: What if I get a request before I’m fully set up? A: Create a manual case immediately. The one-month clock starts when you receive the request.
Q: Can I customize what request types my portal accepts? A: Yes, in Settings > Case Management > Enabled Request Types.
Q: How do I handle requests for people not in our systems? A: Create the case, document your search, close with “No Data Found.”
Q: What if I need more than one month? A: You can extend complex cases by up to two further months (three months in total). Document why the extension is needed.