AI-Powered Redaction
SAR Portal uses artificial intelligence to detect personal data (PII) in documents and suggest redactions before you respond to data subjects.
How AI Redaction Works
Two-Layer Detection
SAR Portal uses two layers of detection:
Layer 1: Pattern Analysis
- Detects 50+ entity types
- Recognizes structural patterns
- Identifies common PII formats
- Fast initial detection
Layer 2: Contextual AI Analysis
- Contextual understanding
- Data subject identification
- Complex pattern recognition
- Nuanced entity detection
The Process
- Attach files - You attach documents through a case action (Request Info, Submit Info, or Close Case)
- Automatic detection - Redactable files are scanned automatically; both layers extract text and detect personal data
- Review Detected PII - You select which entities to redact
- Redact Selected - The confirmed items are redacted
- Review & Confirm - You review each redacted file, then attach them to the case
Starting AI Redaction
There is no separate “Analyze for PII” button. Detection starts automatically when you attach redactable files.
The Redaction Flow
- Attach one or more documents through a case action (Request Info, Submit Info on an Awaiting Information case, or Close Case) using the file picker
- Check the summary of the files you chose, set the upload options if they appear, and click Scan Files & Continue
- Redactable files are scanned and you are taken to the Review Detected PII screen
- Choose which detected entities to redact (see below)
- Click Redact Selected (n) to process the files
- Review the redacted output, then click Confirm & Attach to Case (n)
This flow handles a single file or many at once — there is no separate single-document vs. batch action. See Batch Processing for working with many files.
Understanding Detection Results
Entity Types Detected
| Category | Examples |
|---|---|
| Personal Identifiers | Names, email addresses, phone numbers |
| Government IDs | Passport numbers, national IDs, SSN/PPS |
| Financial | Bank accounts, credit card numbers, IBAN |
| Location | Addresses, postcodes, GPS coordinates |
| Health | Medical conditions, prescriptions, diagnoses |
| Professional | Job titles, employee IDs, company names |
| Digital | IP addresses, usernames, device IDs |
| Dates | Birth dates, event dates, timestamps |
Detection Sensitivity
The AI gives each item it finds a confidence score. Items below your sensitivity setting (Settings > Advanced, PII Detection Sensitivity, 50-95%, default 75%) are not shown for redaction. A lower setting finds more items but also more false positives.
Reviewing Detected PII
The Review Detected PII Screen
After files are scanned, the Review Detected PII screen shows:
- How many entities were found, for example “42 potentially sensitive entities detected across 6 files”
- One expandable panel per file
- Each detected entity with its type and its own toggle, marked Data Subject where it was identified as the requester’s own data
- A running count: “x of y selected”, with the number of Subject and Third-Party items
Every detected item starts selected, including the requester’s own details. Click Deselect Subject Data (or untick items) so the requester’s own information stays in their copy.
If you rejected items on this case before (they are on the case’s PII rejection list), matching items start deselected, and a message says “N entities auto-deselected based on previous rejection preferences”.
Selecting What to Redact
For one entity
- Tick or untick it
- Click the person icon (“Mark as subject’s data and deselect all matching occurrences”) to mark it as the requester’s own data. Every matching occurrence is deselected. Click it again to undo.
For one file (buttons inside the file’s panel)
- Select All PII
- Deselect Subject
- Deselect All PII
For all files (below the file panels)
- Select All (n) - select every detected entity for redaction
- Deselect Subject Data - clear entities identified as the data subject’s own information
- Smart Scan - after you deselect subject data, look for more of the requester’s details and likely false positives, and suggest deselecting them
- Deselect All - clear every selection
Choosing files (buttons above the file panels)
- Select All Documents / Deselect All Documents
- Select Only Healthy Files
- Exclude Files with Many Entities
- Exclude Files with No PII (n)
When your selection is ready, click Redact Selected (n) to process the files. Skip Redaction attaches the files without redacting them.
Reviewing and Confirming the Output
Review Screen
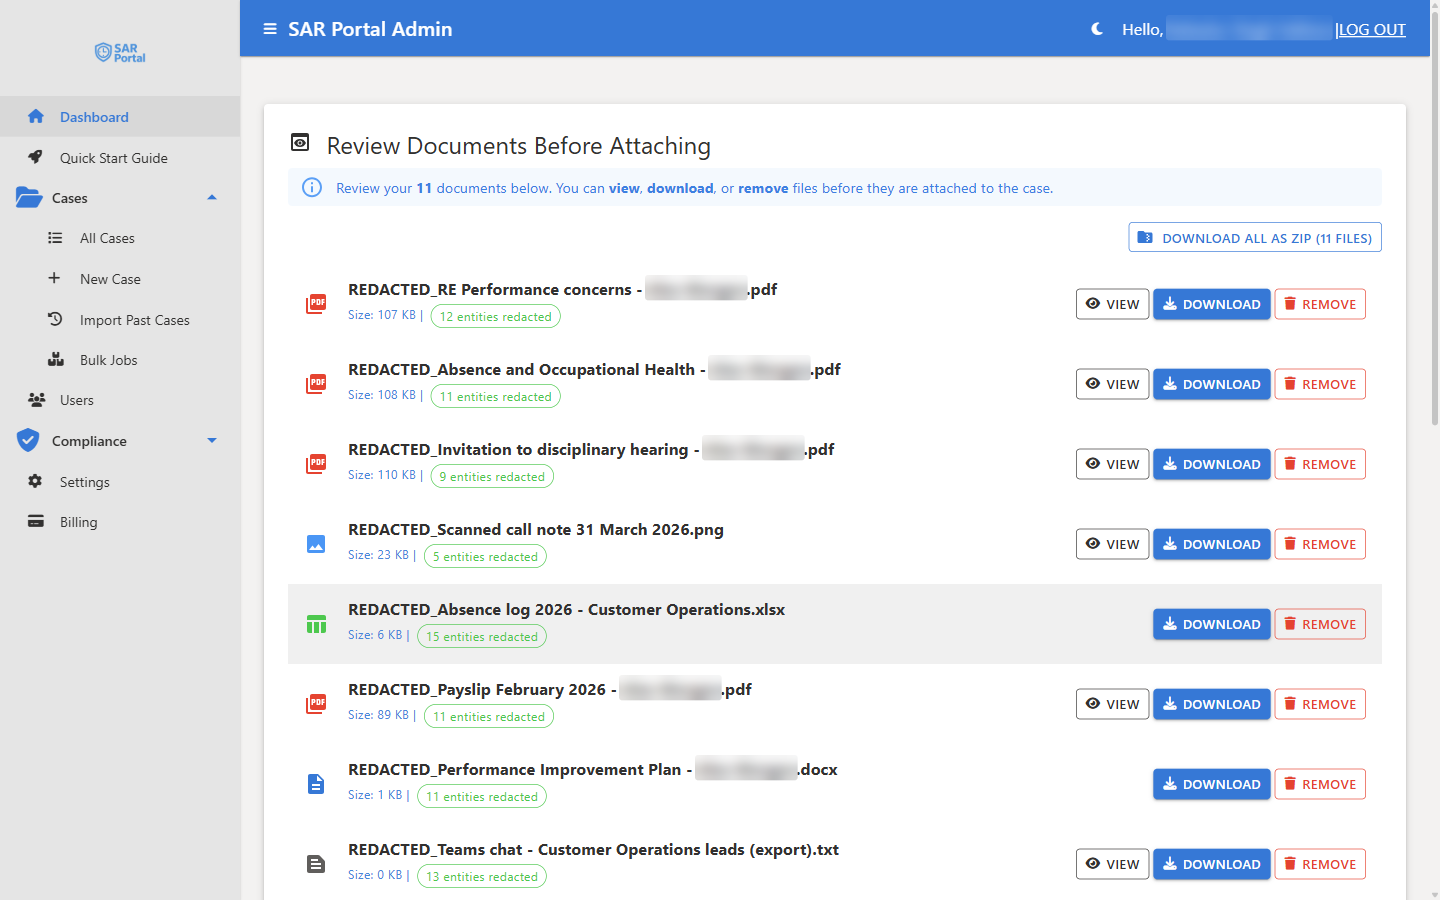
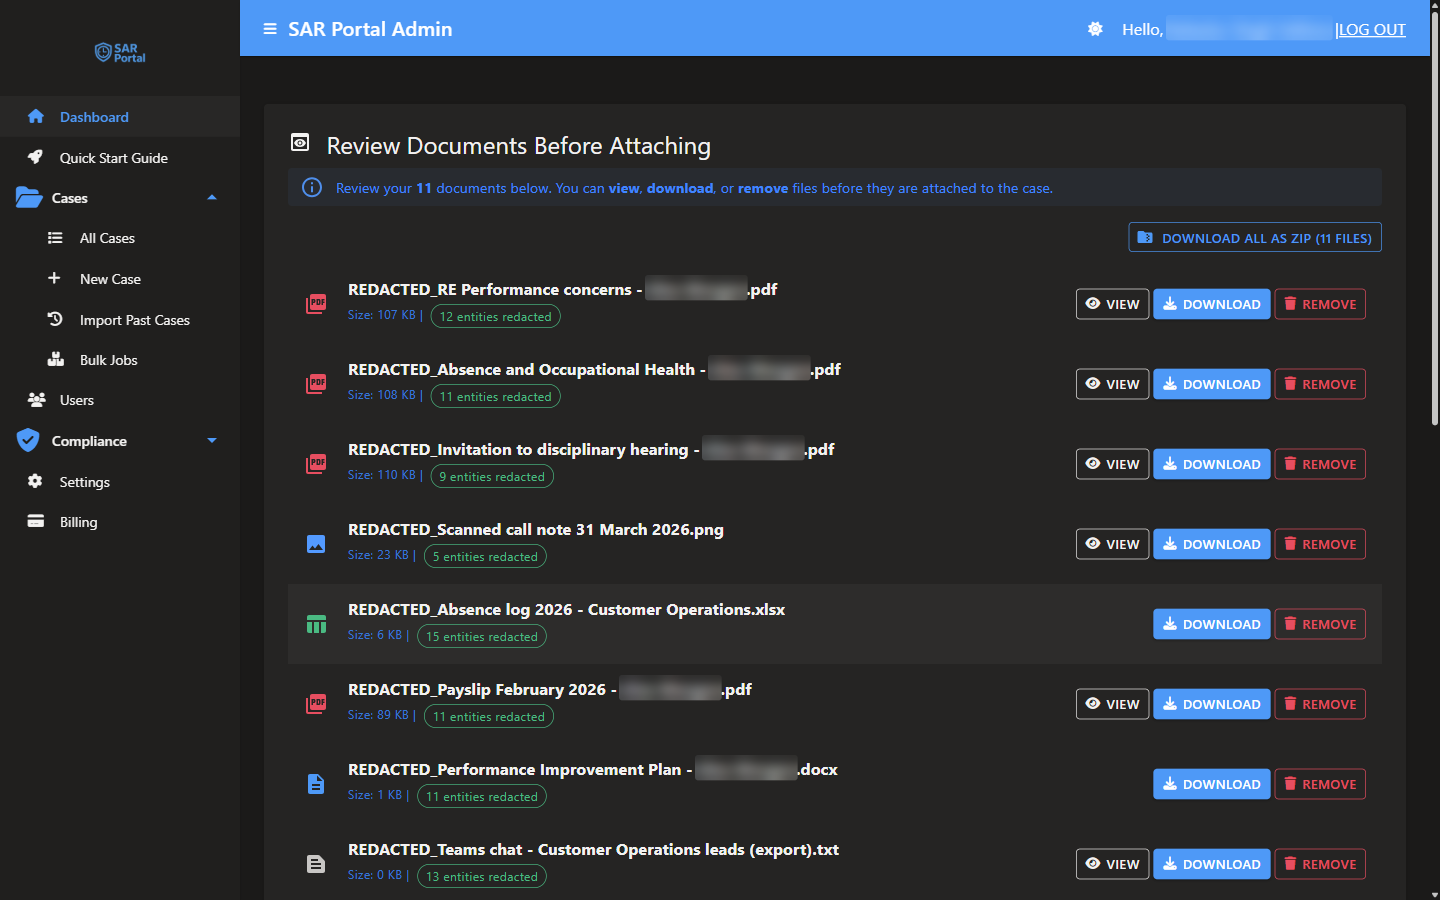
After redaction finishes, the Review Documents Before Attaching screen lists each file with the number of entities redacted:
- View - open the redacted file. PDFs and single-frame images (PNG, JPG, BMP, WebP) open in an editor where you can black out anything the automatic pass missed. See Adding Redactions by Hand.
- Download - save a copy of the redacted output
- Remove - drop a file from the batch
- Download All as ZIP (n files) - save every file at once (shown when there is more than one)
Files that were not redacted are listed separately under Held back — not included (see below). When you’re satisfied, click Confirm & Attach to Case (n). You can also choose Pause & Resume Later to come back to the review later, or Add More Files to add another set of files.
How redactions are applied
The redaction method is selected automatically based on the file type — you don’t need to choose it:
- PDFs and images - the removed text is covered with a solid filled box and the underlying content is permanently removed (not just hidden). Redacted PDF pages become images; pages without redactions stay searchable.
- Word and PowerPoint - the text is removed natively and the layout is kept.
- Excel - the whole cell containing the personal data is replaced.
- Emails - output as a redacted PDF.
- Text files - the text is replaced and the file keeps its original format.
Permanent Redaction
Best Practices
Review All Detections
Don’t blindly accept all AI detections:
- Check context - is this the data subject’s information?
- Verify third-party data is redacted
- Ensure nothing required for the response is removed
Protect Third Parties
When responding to access requests:
- Redact other people’s personal data
- Redact information that would identify others
- Keep only the requesting subject’s data
Document Your Decisions
- Note in the case why certain detections were rejected
- Record any redactions you added by hand
- Rely on the audit trail as your compliance record
Use Appropriate Formats
For best AI results:
- Use searchable PDFs (not scanned images when possible)
- Ensure text is selectable
- Higher quality = better detection
Page Allowance
Document processing (text extraction, scanning, personal data detection and redaction) uses your plan’s page allowance. Scanned pages and text pages share one pool.
| Plan | Page allowance |
|---|---|
| Free trial | 500 pages for the whole trial, whatever plan you chose |
| Basic | 125 pages a month |
| Starter | 1,250 pages a month |
| Pro | 5,000 pages a month |
| Enterprise | 60,000 pages a year by default, under fair use |
On a yearly plan you get 12 months’ pages pooled for the year (for example 60,000 pages on Pro). The allowance resets on your billing date.
What Counts as a Page
- Scanned pages - each page of a PDF and each image that is read
- Text pages - Word, Excel, email and text files are counted by their text: 2,500 characters of text is one page
Pages are counted each time a document is processed, so processing the same document again counts its pages again.
Case AI features (risk scoring, the text assistant and completeness review) do not use pages. They use your plan’s AI allowance, which the Billing page shows as a percentage.
Monitoring Usage
The Billing page, under Your Usage & Limits, shows:
- AI allowance used, as a percentage (not shown on Enterprise)
- Page allowance, for example “7,920 of 60,000 pages processed”, with how many pages are left and when the allowance resets
- How many of the pages were scanned pages and how many were text pages
See Usage & Limits.
What Happens When You Reach Your Allowance
- At 80% - An email is sent, and the Billing page shows an amber note, so you can plan ahead or upgrade.
- At 100% - Another email is sent. Document processing pauses until the allowance resets or you upgrade. On the upload page, files that could not be checked are held back under Held back — not included, marked “Not checked for personal data”. Each has Include anyway and Remove. A file you include is then marked “Not checked – page allowance used up” (or “Not checked – allowance check unavailable, try again” if the allowance could not be checked). Include a file only if you will redact it yourself before sharing.
- Enterprise - Your admin contact is alerted at 100% of the allowance. Processing continues until 150%, then document processing pauses until the allowance resets or is extended.
- Upgrading - A plan upgrade applies the new, higher limit immediately and keeps your usage to date, so processing resumes right away.
Custom Redaction Patterns
Beyond the built-in entity types, you can add your own custom regex patterns to detect business-specific identifiers — for example account numbers, claim references, or membership numbers. Custom patterns are configured in the redaction settings and are validated for safety (including ReDoS protection) before they are saved.
The number of custom patterns you can save depends on your plan:
| Plan | Custom patterns |
|---|---|
| Basic | 2 |
| Starter | 5 |
| Pro | 10 |
| Enterprise | No limit |
Supported Document Types
AI redaction works with 32 file types in 7 categories:
| Format | Text Extraction | Redaction Method |
|---|---|---|
| PDF (searchable) | Yes | Visual redaction (redacted pages become images) |
| PDF (scanned) | Yes (OCR) | Visual redaction (redacted pages become images) |
| Word (.docx, .dotx, .docm, .dotm) | Yes | Native redaction (text removed) |
| Excel (.xlsx, .xlsm, .xltx, .xltm) | Yes | Cell-level redaction |
| PowerPoint (.pptx, .pptm, .potx, .potm) | Yes | Native redaction |
| Images (.png, .jpg, .jpeg, .bmp, .tiff, .tif) | Yes (OCR) | Visual redaction |
| GIF (.gif) | Convert to PNG for reliable automatic detection | Visual redaction |
| WebP (.webp) | Not read automatically | Manual only: on the upload page the file is marked “Not checked” and left out unless you include it (bulk results show “Not redacted”). Black out anything by hand, or convert to PNG/JPEG |
| Email (.eml, .msg) | Yes (headers + body) | PDF output |
| Text (.txt, .csv, .log, .md, .json, .xml, .html, .css, .js) | Yes | Text replacement (original format kept) |
Redaction works on text, including OCR text in images. Faces in photos and video are not redacted.
AI Risk Assessment
SAR Portal includes AI-powered risk assessment to help you identify cases that may require special attention.
How Risk Assessment Works
When you create a case on the Create Case page, the AI reviews the request details: the request type, the requester’s name and email, and the case notes. It does not read the case’s documents. It looks for:
- Legal language - mentions of lawyers, solicitors or legal action
- Regulatory complaints - mentions of a regulator, complaint or fine
- Urgency and tone - urgent wording, anger, frustration or threats
- Complexity - vague requests, many types of data, unclear scope
- Data sensitivity - special category data, children’s data, financial data
- Third parties - mentions of other people or companies
- Repeat requests - previous interactions or escalation
Risk Levels
The assessment gives a score from 1 to 10 and a level:
| Score | Level | Recommended Action |
|---|---|---|
| 1-3 | Low | Standard request, no red flags. Normal processing |
| 4-6 | Medium | Some concerns. Give it attention |
| 7-8 | High | Significant concerns. Priority handling |
| 9-10 | Critical | Legal threats or regulator involvement. Escalate immediately |
Using Risk Assessment
- Open Cases
- Look for the coloured dot next to a case’s request type. Hover over it to see “High Risk - Score: n/10” (score 7 or more) or “Medium Risk - Score: n/10” (score 4 to 6). Low-risk cases have no dot
The assessment is guidance only, not legal advice. Use your own judgement for every decision.
Benefits
- Spot requests that may need senior or legal attention
- Give extra care to requests that involve sensitive data
Troubleshooting
“No PII Detected”
- Document may not contain personal data
- Check if document has extractable text
- Scanned documents may need better quality
Low Detection Accuracy
- Verify document quality
- Check language support
- Consider manual review for edge cases
Analysis Taking Too Long
- Large documents take longer
- Complex layouts require more processing
- Check document size limits