Adding Redactions by Hand
Automatic redaction works on text it can read. It can miss personal data inside photos, screenshots, signatures or poor scans. Before you attach a file, you can open it in the redaction editor and draw extra black boxes over anything that was missed.
Where You Can Use It
- On the upload page - on the Review Documents Before Attaching screen, after Redact Selected (n), when you attach files through Request Info, Submit Info or Close Case. Request Info is open to Admins, Case Managers and Reviewers; Submit Info and Close Case to Admins and Case Managers.
- In bulk jobs (Enterprise) - in the file explorer of a finished bulk job, in the case’s Batch Redaction panel. See Bulk ZIP Jobs.
Which Files You Can Edit
| File type | Editor |
|---|---|
| Yes | |
| Images: .png, .jpg, .jpeg, .bmp, .webp | Yes (single-frame images) |
| TIFF, GIF and images with several frames | No, they open read only |
| Word, Excel, PowerPoint, emails and text files | No |
WebP images are not read automatically, so the upload page marks them “Not checked” and holds them back. To redact one, click Include anyway, then View, and black out the personal data by hand.
Adding a Redaction on the Upload Page
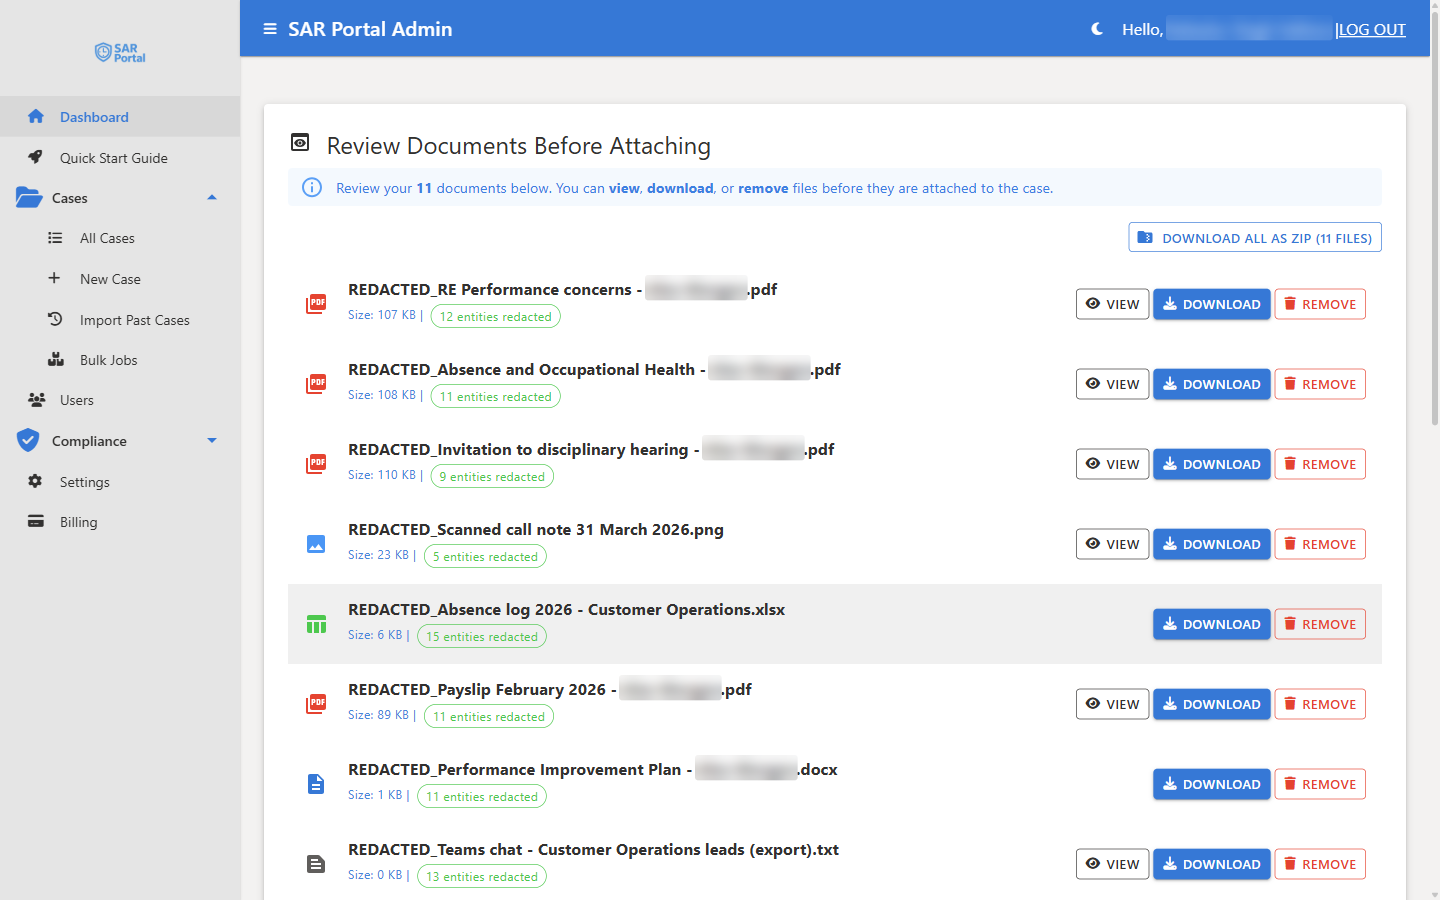
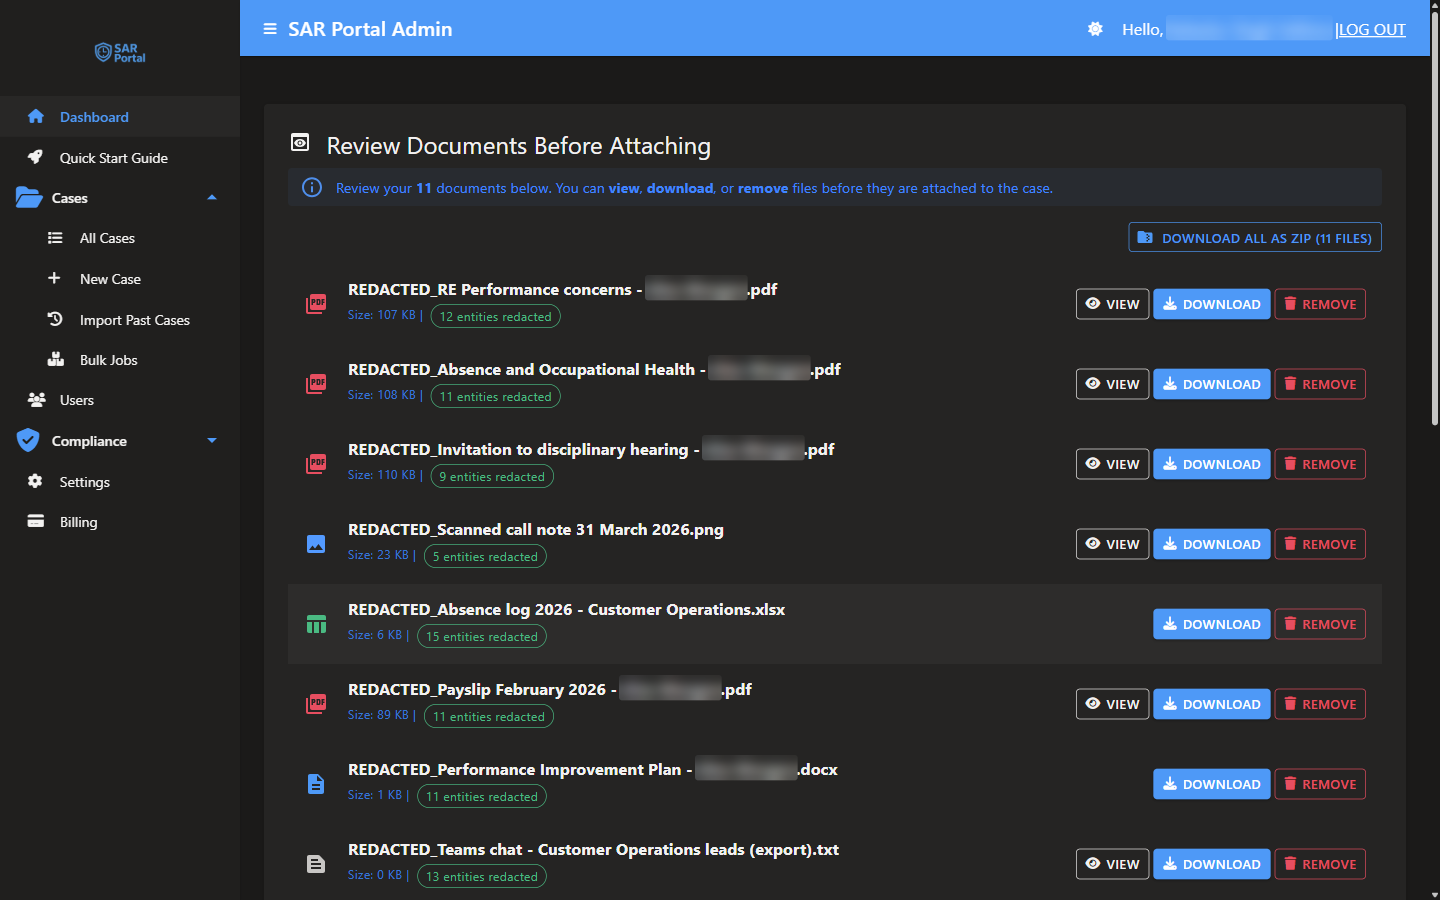
- On Review Documents Before Attaching, click View next to a PDF or image. The editor opens with the title “Review & edit redaction —” and the file name. The black boxes on the page are what will be redacted.
- Click Add a redaction. The button changes to Drawing on — drag on the page.
- Drag a box over the text or picture you want to hide. Repeat for each item. The editor shows how many boxes will be added.
- To change your mind, click Undo to remove the last box, or Clear to remove all the boxes you added.
- Click Save N added box(es). Click Done or Cancel to close without changes.
A message confirms “Added N redaction(s)” to the file. The boxes are burned into the file: the content underneath is removed, not just covered. The file is then attached as a redacted file, and its count of entities redacted includes your boxes.
Adding a Redaction in a Bulk Job
- On the case, expand Batch Redaction and click Browse Files on a finished job.
- Find the file. Files with no personal data detected are marked Not redacted.
- Click the brush icon (Review & edit — add redactions).
- Draw and save boxes as described above.
The file is then marked Manually edited in the file list.
Tips
- Make each box a little larger than the item, so nothing shows at the edges.
- Check every page of a scanned PDF: automatic detection can only redact what it can read.
- Faces in photos are not redacted automatically. Draw over them if they must not be disclosed.
- If a file cannot be opened in the editor, download it, redact it outside SAR Portal and attach the redacted copy.