Creating Cases
Cases can be created automatically through your public portal or manually by your team. To record old requests that were already closed, use Importing Past Cases.
Automatic Case Creation
When a data subject submits a request through your public portal:
- They enter their email and verify with a one-time code
- They select the request type and provide details
- A case is automatically created in your system
- You receive an email notification
- The case appears in your Cases list with status “Opened”
A new portal case has no identity verification method recorded yet. See Identity Verification.
This is the recommended way to receive requests as it:
- Confirms the requester controls their email address
- Captures all required information
- Creates a complete audit trail
- Reduces manual data entry
Manual Case Creation
For requests received via email, phone, or letter:
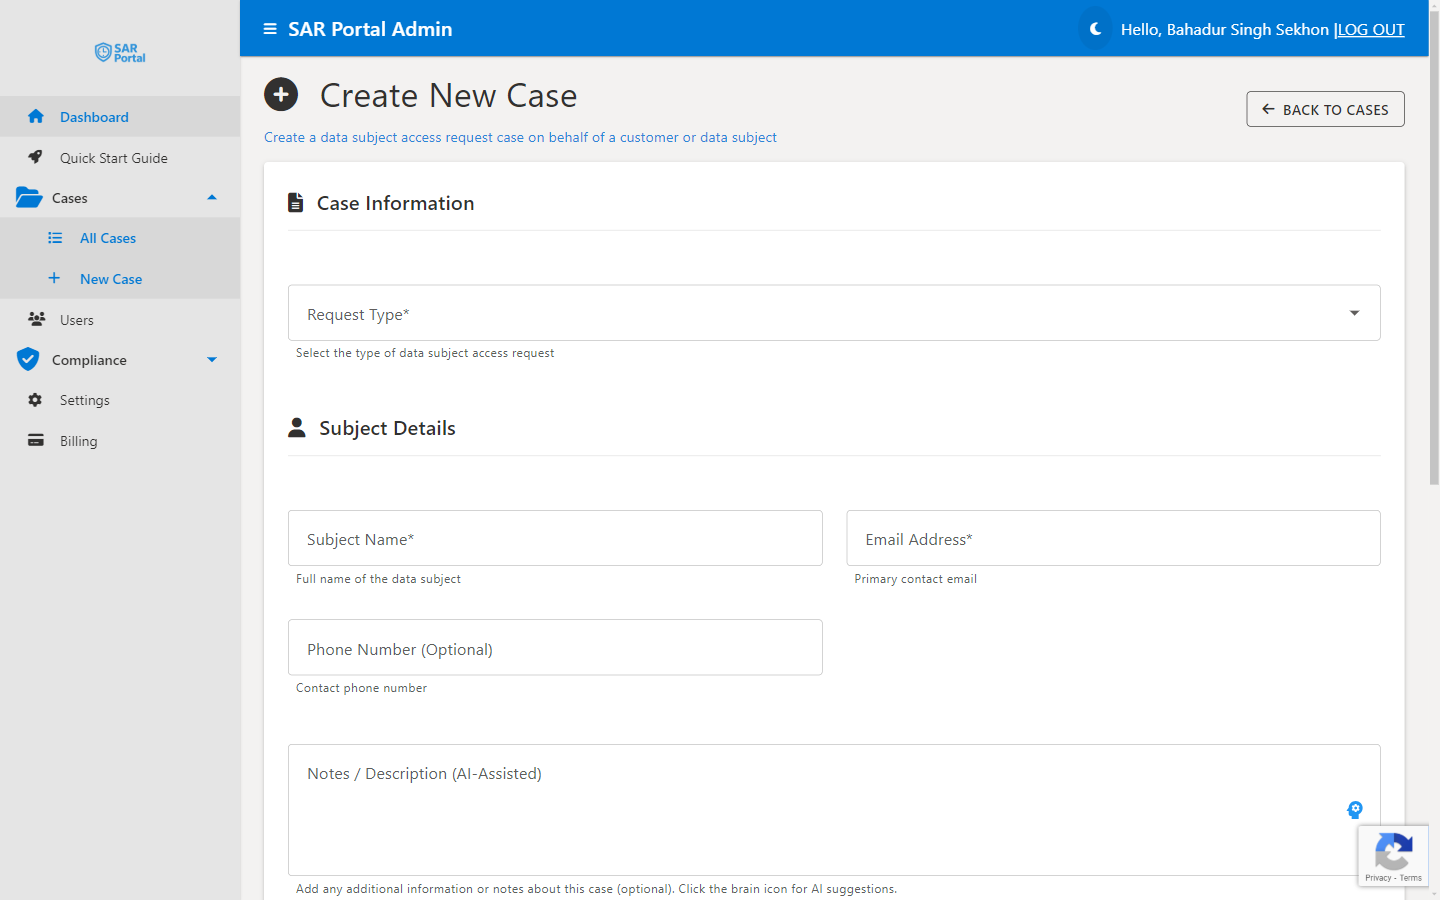
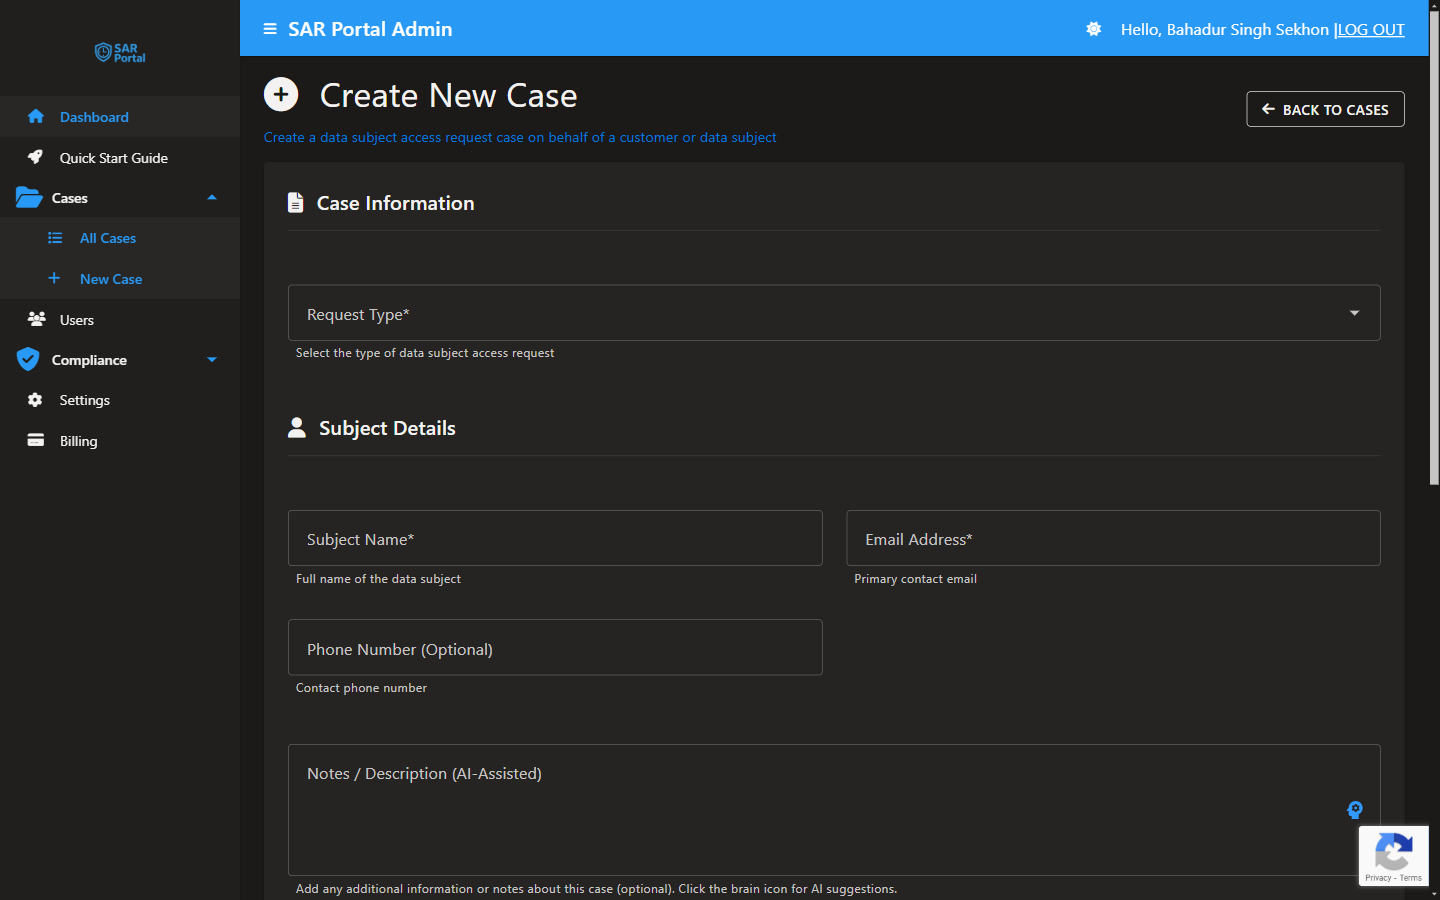
Step 1: Start New Case
- Go to Cases in the sidebar
- Click Create New Case button
- On the create page, choose a tab: Manual Entry (type the details in yourself) or From Email (start from an email you received)
Starting From an Email
On the From Email tab, either click Choose File to upload a .eml or .msg file, or paste the full email into Paste email content and click Extract with AI. SAR Portal reads the email and takes you back to Manual Entry with the fields filled in (“Fields pre-populated from email. Review and edit before creating.”). Check every field before you create the case. Click Start Over to discard the extracted details.
Step 2: Select Request Type
Choose the appropriate GDPR request type:
| Type | GDPR Article | When to Use |
|---|---|---|
| Access Request | Art. 15 | Subject wants a copy of their data |
| Erasure Request | Art. 17 | Subject wants data deleted |
| Rectification Request | Art. 16 | Subject wants to correct inaccurate data |
| Objection Request | Art. 21 | Subject objects to processing |
| Restriction Request | Art. 18 | Subject wants processing limited |
| Portability Request | Art. 20 | Subject wants data in portable format |
| Automated Decision Objection | Art. 22 | Related to automated decision-making |
| Other | Various | Doesn’t fit standard categories |
The Request Type list shows only the types enabled in Settings > Case Management.
Step 3: Enter Subject Details
Required fields:
- Subject Name - Full name of the person making the request
- Email Address - Primary contact email
- Date Request Was Received - When you received the request; the Calculated Due Date is set to one calendar month after this
Optional fields:
- Phone Number (Optional) - Alternative contact method
- Governing country - Shown only if your organisation handles cases across several jurisdictions. It decides whether the EU or UK GDPR deadline rules apply (see Deadlines & Extensions)
Step 4: Add Notes (AI-Assisted)
The Notes / Description (AI-Assisted) field supports AI assistance. Enter everything you want on record now: after the case is created, the notes are shown read-only as Subject Notes in Case Details.
- Type your notes describing the request
- Click the brain icon for AI suggestions on grammar and clarity
- Include relevant details like how the request was received
Step 5: Create the Case
Click Create Case (or Create n Cases) to:
- Generate a unique Case ID
- Set the due date (one calendar month after the Date Received)
- Record the creation in the audit log
- Trigger any configured notifications
- Score the case’s risk with AI (shown as a dot on the Cases list; see Cases Overview)
After Case Creation
Once created, you can:
- Attach documents - Files are attached through the Request Info, Submit Info or Close Case flows (there’s no standalone upload button); redactable files run PII detection automatically as you attach them
- Request information - Ask the subject for verification or clarification
- Mark Verified - Confirm identity with one click before disclosing data
- Analyze with AI - Get next steps and completeness checks in AI Insights
- Update status - Move through the workflow
- Close the case - Complete with an appropriate outcome
Best Practices
For Subject Information
- Use the exact name as provided by the subject
- Verify email addresses before processing sensitive data
- Note alternative identifiers if provided (customer ID, account number)
For Notes
- Record how the request was received (email, letter, phone)
- Include the original request text or summary
- Note any specific data systems mentioned
- Document any unusual circumstances
For Timing
- Create cases promptly when requests are received
- The one-month clock starts when you receive the request, not when you create the case
- If there’s a delay, note it and adjust expectations
Case Creation Limits
Your plan determines how many cases you can create:
| Plan | Monthly Limit | Admin Buffer |
|---|---|---|
| Basic | 1 case | +1 |
| Starter | 5 cases | +2 |
| Pro | 25 cases | +5 |
| Enterprise | No monthly case cap | n/a |
The admin buffer allows administrators to create a few extra cases beyond the public portal limit, ensuring you can always handle direct requests.