Registration & Setup
Getting started with SAR Portal takes just a few minutes. This guide walks you through the registration process and initial setup.
Step 1: Create Your Account
- Go to the Pricing page and click Start Free Trial under the plan you want. (The Start Free Trial button on the home page opens the same form with Starter chosen; use Change plan on the form to pick another.)
- The registration form shows the plan you chose under Your plan. Choose Monthly or Annual billing (annual billing costs less over the year).
- Fill in your details:
- Email Address - This becomes your admin account
- Company Name - Your organization’s legal name
- Country - For billing and VAT purposes
- VAT Number (Optional)
- Company Website (Optional)
- Click Start Free Trial to create your account
What each plan includes
| Basic | Starter | Pro | |
|---|---|---|---|
| Price | €29 a month | €59 a month | €199 a month |
| Users | 1 | 3 | 10 |
| Cases a month | 1 | 5 | 25 |
| Storage | 2 GB | 10 GB | 50 GB |
| Pages a month (AI redaction) | 125 | 1,250 | 5,000 |
| Custom branding | No | No | Yes |
| Import Past Cases | No | No | Yes |
AI-powered PII detection and redaction is included on all plans, within the plan’s page allowance. Scanned pages and text pages share one allowance; a text page is 2,500 characters of text. Yearly plans get 12 months’ pages pooled for the year. Role-based access is on every plan.
Enterprise starts from €3,000 a year ex VAT, billed annually, and includes 60,000 pages a year by default under fair use. Enterprise has no self-serve trial: contact us.
Step 2: Activate Your Account
After registration, you’ll receive an email with the subject “Your DSAR trial is ready — start your first case now”. If you signed up with a personal email address (such as Gmail or Outlook.com), we do a quick manual check before your account is activated.
- Check your inbox for the email from SAR Portal
- Click the Start Your First DSAR button. The link expires in 7 days
- You’ll be redirected to sign in with your email
- Complete the authentication process
Step 3: Complete Your Organization Details
After you sign in for the first time you land on the Dashboard. There is no setup wizard: an admin fills in the organization details in Settings.
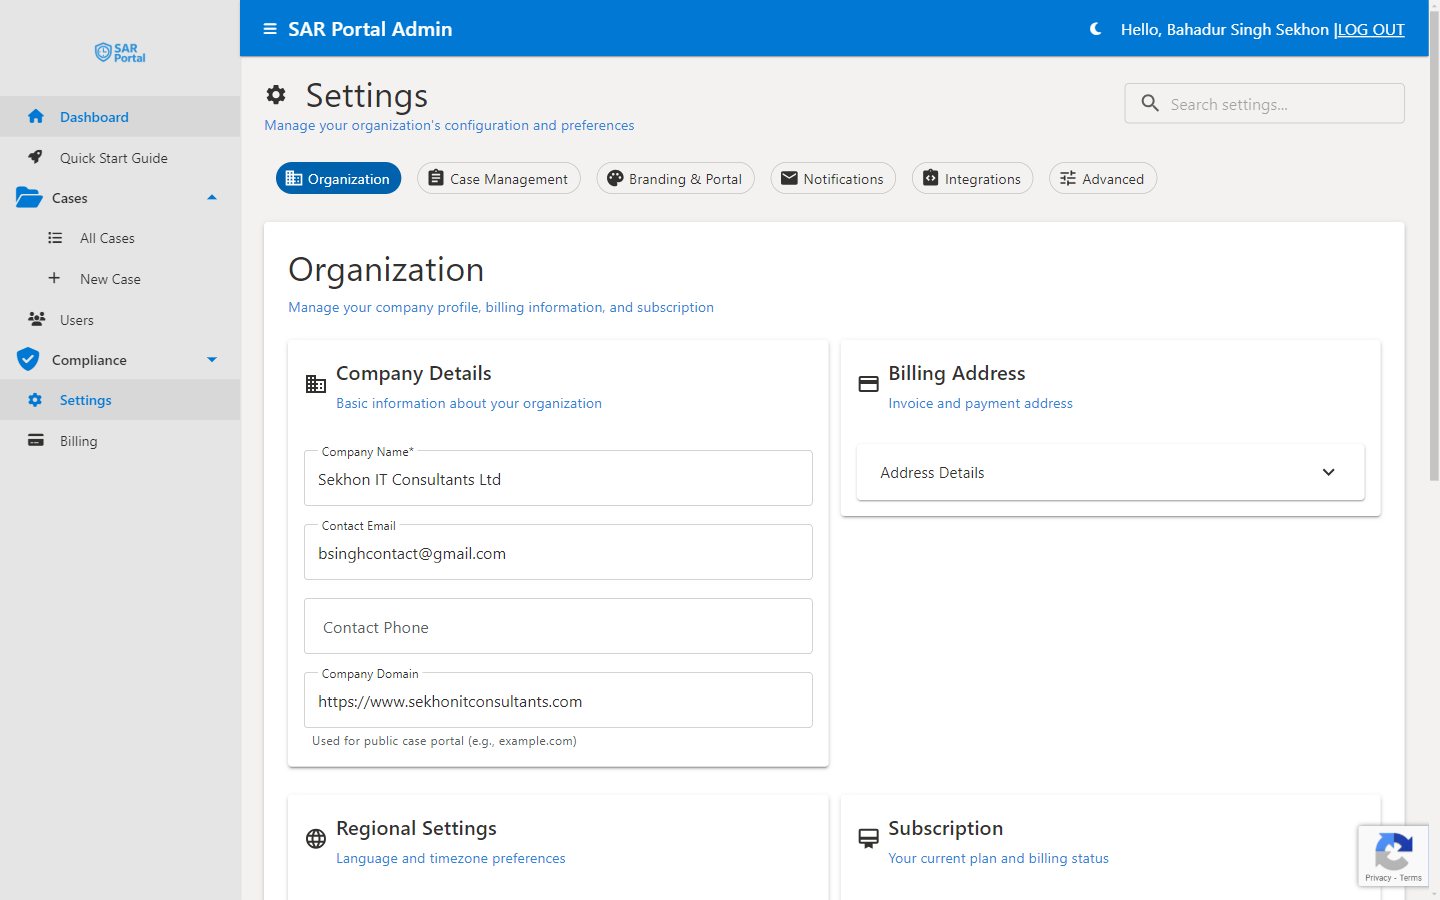
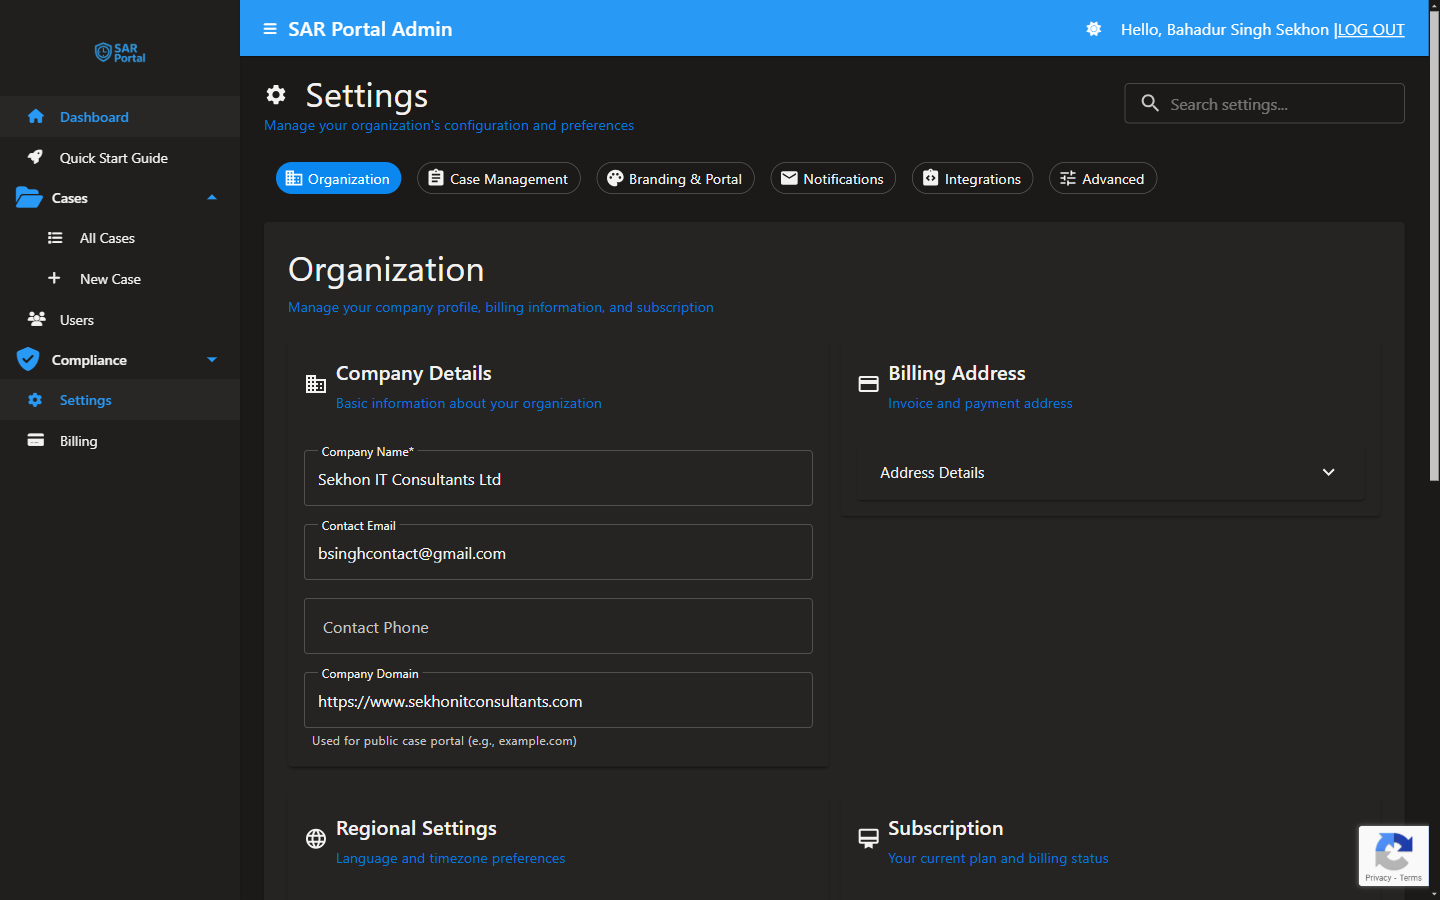
- Click Settings in the sidebar (Admin only) and open the Organization tab
- Under Company Details, fill in Company Name, Contact Email, Contact Phone and Company Domain
- Optionally, under Email Signatory, set the Signatory Name, Signatory Title and Sign-off Wording used in emails
- Under Billing Address, enter your address and VAT Number (Optional)
- Under Regional Settings, choose your Language, Time Zone (how dates and times are shown in the app) and Country
- Click Save Changes
Other settings you may want to check:
- Notifications: the optional DPO Email Copies switch (CC DPO on all case emails) with a DPO Email Address. Notification emails themselves are sent automatically and cannot be switched off. See Notifications
- Branding & Portal (Pro and Enterprise): your logo and colours. See Branding
- Integrations: your public portal URL, created automatically. See Integrations
Step 4: Invite Team Members (Optional)
If you have colleagues who need access:
- Go to Users in the sidebar
- Click Invite User
- Enter their email address
- Select their role:
- Admin - Full access including billing and user management
- Case Manager - Create and manage cases, but no admin access
- Reviewer - View cases and documents, limited editing
- Read Only - View-only access for auditors
- Click Send Invitation
The number of users depends on your plan (1 on Basic, 3 on Starter, 10 on Pro). They’ll receive an invitation email to join your organization.
What’s Next?
After setup, you’re ready to:
- Explore the Dashboard - Understand your command center
- Install SAR Portal as an app - Open it from your desktop, taskbar or home screen
- Create Your First Case - Start managing DSARs
- Set Up Your Public Portal - Let data subjects submit requests directly
Your Public Portal URL
Every organization gets a unique public portal URL where data subjects can submit requests:
https://app.sarportal.com/subjectaccess?token={your-portal-token}
You can find this URL in Settings > Integrations and add it to your privacy policy or website.